
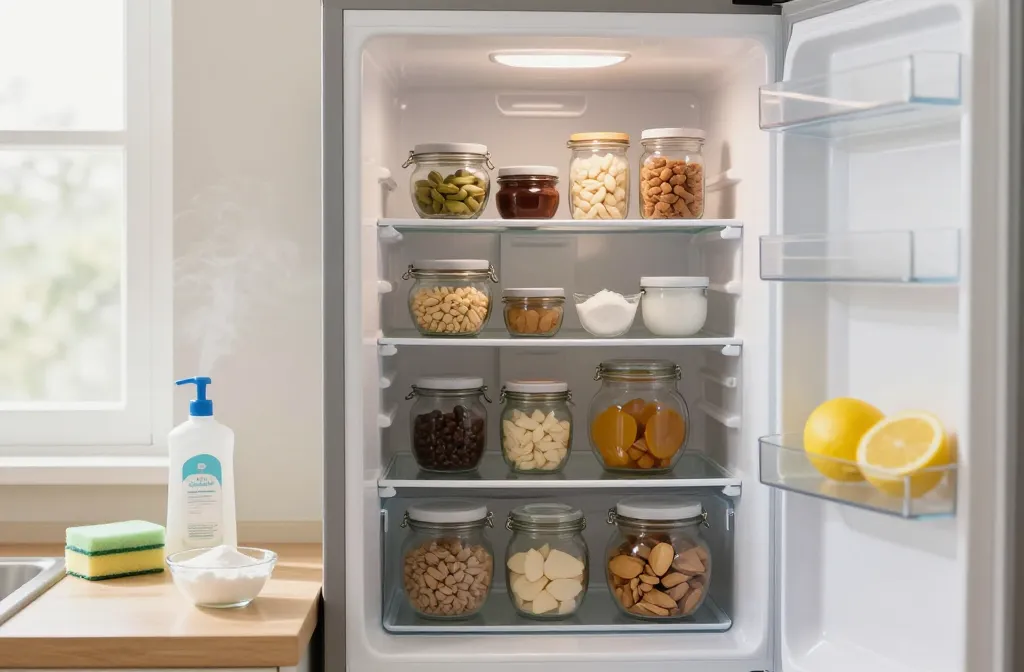
It happens to the best of us: you open the fridge and suddenly your leftovers are staging a mutiny. If cleaning fridges feels like a chore you keep pushing down the to-do list, you’re not alone. But a deep clean isn’t just about vibes—it keeps leftovers safer, groceries fresher, and your energy bills a tad happier. Let’s dive in and make this ritual quick, practical, and maybe even a little satisfying.
Why a Deep Clean Beats a Quick Wipe Down
You know that moment when you open the fridge and a faint science experiment greets you? A deep clean tackles the root causes—spills, moldy gaskets, crusty shelves, and those sneaky spots you forget exist. Regular scrubs prevent smells from creeping back and help you actually see what you have, so you stop buying extra mayo you’ll never use. FYI, a spotless fridge can extend the life of produce by spotting spoiled items early.
Gather Your Tools and Supplies
– Basic tools: microfiber cloths, sponge, soft scrub brush, and a bucket or large bowl.
– Cleaning agents: warm water, mild dish soap, white vinegar (diluted), and a baking soda paste for stubborn odors.
– Extras: an old toothbrush for tight corners, paper towels, a non-scratch scraper, and a spritz bottle.
– Optional: replacement door gaskets or shelves if you find serious wear.
Ask yourself, do I have these on hand or will I be sprinting to the store mid-clean? The goal is to keep this simple: minimal fuss, maximum shine.
Step-by-Step Deep Clean Gantry: The Core Process
1) Empty and categorize
– Remove all items from both shelves and drawers.
– Check dates and assets: toss anything moldy, sour, or clearly expired.
– Group items by type: leftovers, dairy, produce, condiments, and meat (keep raw meat separate and refrigerated if you can).
2) Remove and wipe shelves and drawers
– Take out shelves and drawers, wash with warm soapy water.
– For stubborn spills, sprinkle baking soda, then scrub gently.
– Rinse, dry, and set back in place.
3) Wipe the interior surfaces
– Wipe walls, ceiling, and sides with a cloth dampened with a mild soap solution.
– For odors or sticky residues, use a vinegar-water spray (1:1) and wipe clean.
– Dry with a fresh cloth to prevent water spots and future condensation.
4) Gasket glaze check
– Inspect door gaskets for cracks or gaps. Clean them with mild soap and a soft brush.
– If you notice significant wear, file this under “replace soon” and don’t procrastinate.
5) Clean the crisper seals and tracks
– Wash track grooves with a sponge, then dry thoroughly.
– A Q-tip can help with the tight corners where gunk hides.
6) Restock and reorganize
– Return items with an eye for layout: ready-to-eat foods together, dairy on the middle shelves, raw meat at the bottom.
– Place items with the soonest expiration in front so you actually use them.
– Consider a “garbage shelf” rule for things nearing expiry to keep lids tight and odors contained.
Sanitation Magic: Quick Fixes for Odors
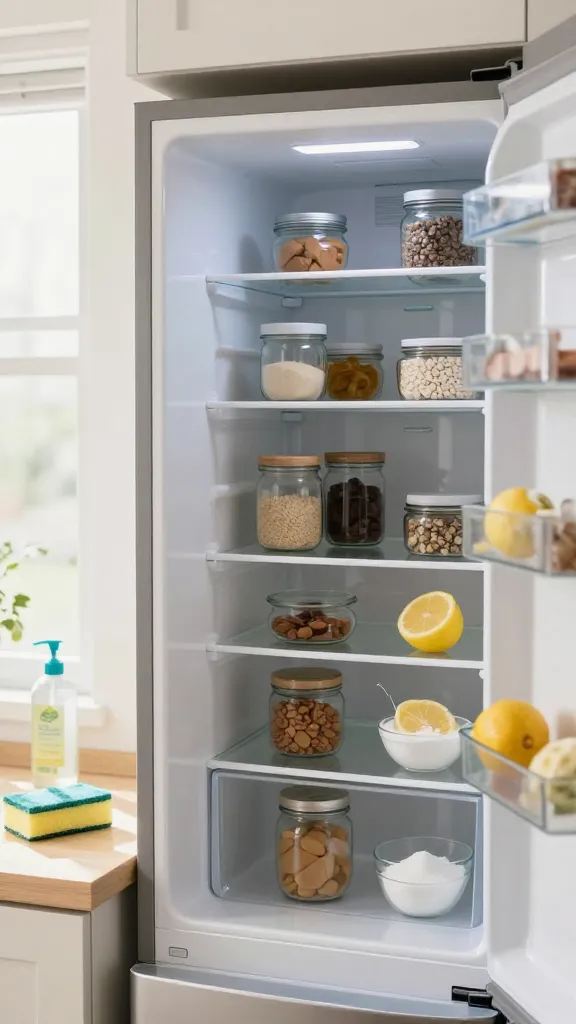
– Deal with smells fast: a baking soda box or an open container on a shelf can absorb odors between deep cleans.
– Vinyl-safe deodorizer: a spray bottle with diluted vinegar can neutralize smells, but avoid spraying directly on food.
– Bonus hack: simmer lemon peels in a small pot outside the fridge for a fresh air boost. It’s not stash-worthy, but it helps your kitchen feel brighter.
Floating Realities: Common Trouble Spots
Crumbs in the crisper
Dust off the drawers, wipe their corners, and ensure the seals aren’t catching crumbs. A quick wipe with a damp cloth before returning produce helps.
Gasket gossip
If your gasket is sticky or moldy, scrub gently. If you see cracks, replace it soon. A torn gasket means the fridge works harder and wastes energy.
Shelf drama
Shelves can warp or crack if you stack too heavily. Use shelf liners and avoid overloading. Your future self will thank you when you don’t have to fish out a toppled bottle.
Energy-Saving Dos and Don’ts
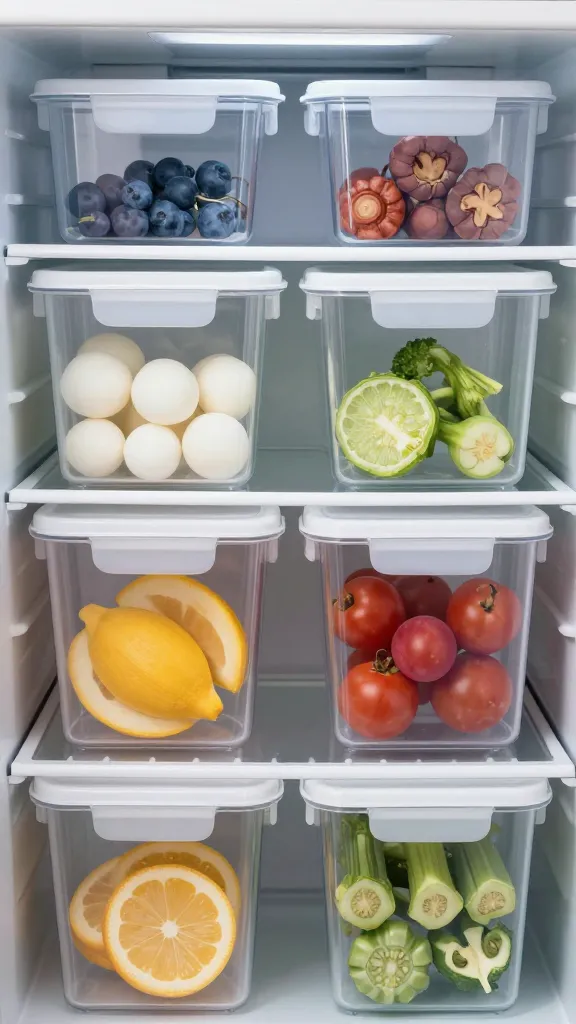
– Do keep the fridge temperature steady around 37–40°F (3–4°C). It preserves freshness without turning your food into an ice sculpture.
– Don’t overload the door. The lightweight items near the seal mess with cooling efficiency.
– Do keep pantry items organized so the fridge doesn’t have to work overtime to chase the shadows.
– Do clean spills immediately. A tiny wipe now saves you a bigger cleanup later.
Maintenance Habit: Making Deep Cleaning a Routine
– Schedule a quarterly deep clean as a fixed item on your calendar. Treat it like a dentist appointment, but way tastier.
– Do a quick wipe-down every two weeks. This keeps buildup from escalating and turns the big clean into a minor maintenance sprint.
– Keep a mini cleaning kit in the pantry or a drawer so you don’t have to hunt for brushes when motivation is high or low.
FAQ
How often should I deep clean my fridge?
A thorough deep clean every 3 to 4 months works for most households. If you cook daily, you might slide into monthly territory. The key is consistency; a little cleanup goes a long way.
Is it safe to use vinegar around food?
Yes, diluted white vinegar is safe for surfaces. It leaves a neutral scent and helps cut grease. Do not spray directly on food; wipe food surfaces with a clean cloth afterward.
What’s the best way to remove stubborn odors?
Start with baking soda on an open tray in the fridge for 24–48 hours. If odors persist, place a fresh lemon half in a bowl for a day or two. FYI, avoid mixing strong-smelling foods with each other during long-term storage.
Can I clean shelves while they’re still in the fridge?
If your shelves are removable, take them out for a thorough scrub. It’s easier to reach corners and you won’t miss spots. If you must stay in-situ, use a damp microfiber cloth and a gentle cleaner, then dry immediately.
How do I replace a worn door gasket?
Get the model number from your fridge and buy the exact gasket. Remove the old gasket carefully, clean the channel, and fit the new gasket in place. It might take a little patience, but the energy savings are worth it.
Conclusion
Clean fridges aren’t just about a fresh scent; they’re about smarter eating, fewer wasted leftovers, and less energy drama. With a solid plan, the process becomes a quick, almost satisfying reset instead of a dreaded chore. So grab your cleaning kit, roll up your sleeves, and show your fridge some love. IMO, you’ll thank yourself each time you reach for a snack and don’t have to wade through yesterday’s mystery meat to find it. Happy cleaning, friend.
Leave a Reply