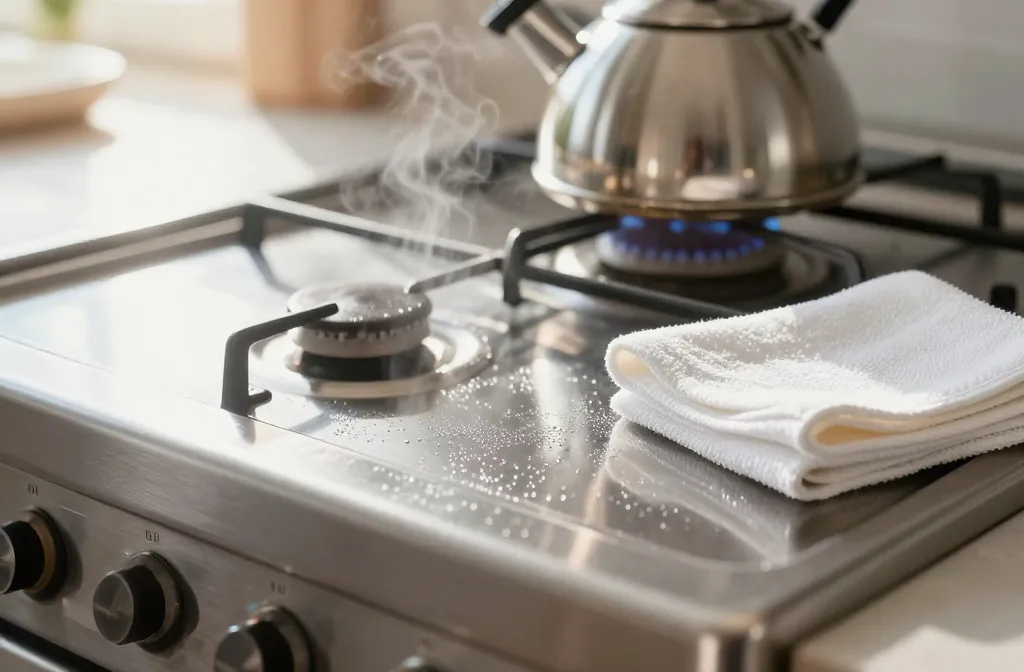
You’re about to discover hacks that turn messy stovetops into sleek, sparkly surfaces with zero drama. These tricks are simple, effective, and totally doable in under 20 minutes. FYI, your future self will thank you every time you cook.
1. Steam + Wipe: The Ultimate Clean Start
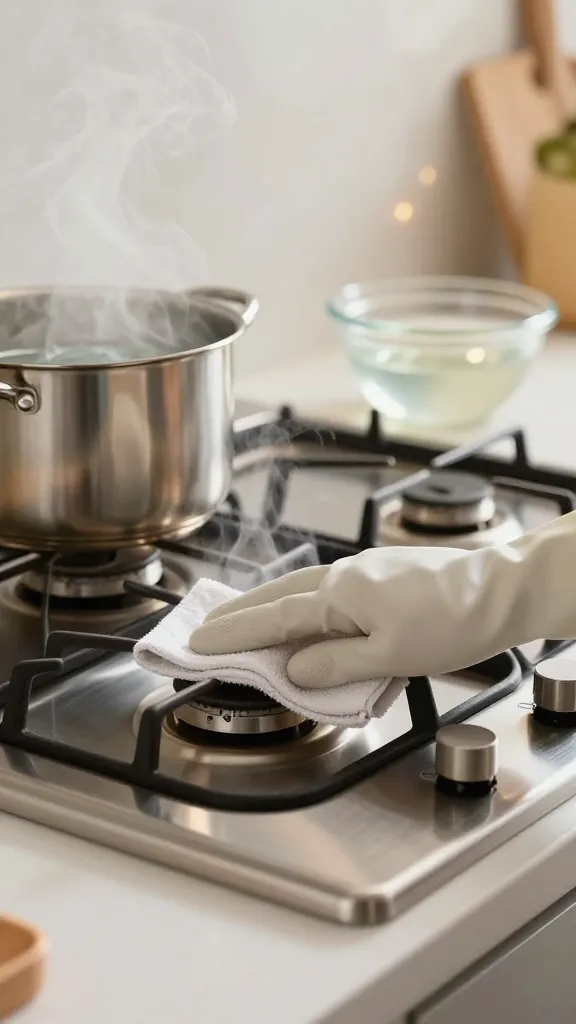
Steam loosens baked-on grime like magic, making the wipe-down feel effortless. No need for harsh scrubs when you’ve got the power of heat and time on your side.
How to Do It
- Fill a heat-safe bowl with 1 cup white vinegar and 1 cup water.
- Heat the mixture on the stove until it simmers for 5–7 minutes.
- Carefully remove the bowl, let the surface cool slightly, then wipe with a microfiber cloth.
The bonus: vinegar disinfects and leaves a bright, streak-free surface. If you’ve got stubborn spots, repeat once more and finish with a quick dry wipe. Trust me, the shine is worth it.
Benefits: quick refresh, minimal effort, no scratching. When to use: after heavy cooking or when buildup looks gray and dull.
2. Baking Soda Magic: Gentle Scrub That Actually Works
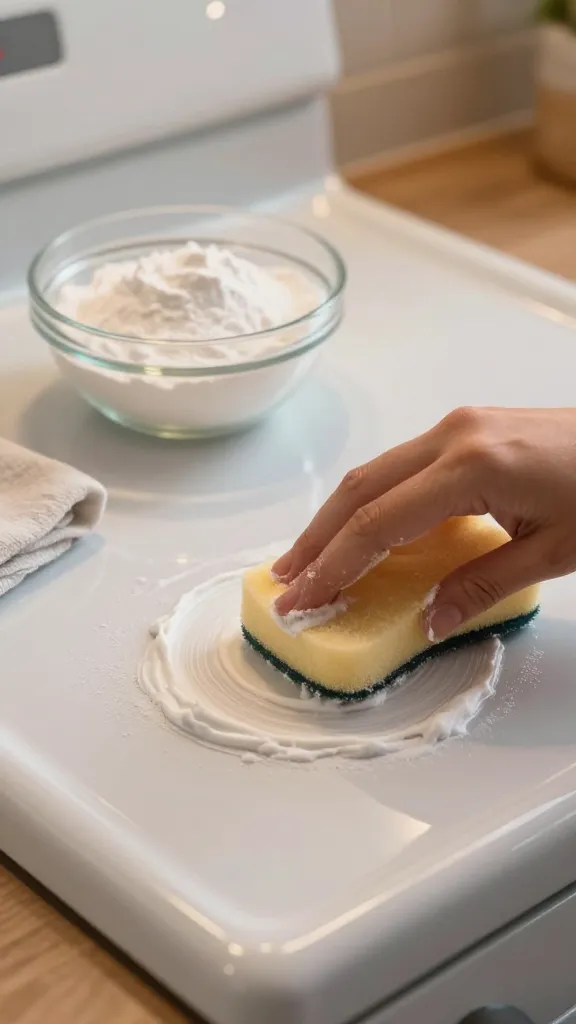
Baking soda is the unsung hero of kitchen cleanup. It’s gritty enough to tackle grime but gentle enough not to scratch your burners. Plus, it smells fresh instead of burnt—win-win.
How to Do It
- Mix 2 tablespoons baking soda with a few drops of water to form a paste.
- Apply to stained areas with a soft sponge, using small circular motions.
- Wipe away with a damp cloth and buff dry.
If you’re dealing with tough spots, let the paste sit for 5–10 minutes before scrubbing. The paste loosens buildup so you don’t have to lean in with brute force. Seriously, ease over elbow grease any day.
Benefits: gentle yet effective, affordable, gentle on enamel. When to use: light to moderate grease and baked-on spots.
3. Lemon Zest Power Clean: Freshen as You Go
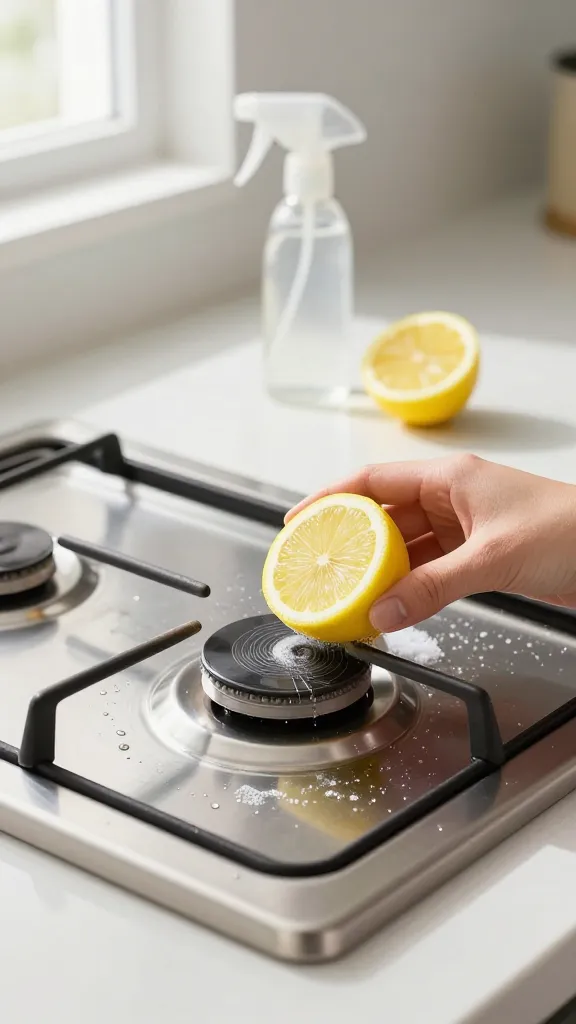
Brighten and deodorize while you scrub. Lemons cut through grease and leave your kitchen smelling zingy instead of funky. It’s like a spa day for your stove, minus the cucumbers.
Ingredients & Steps
- Two lemon halves or a lemon rind
- Salt (optional for extra abrasion)
- Spray bottle with water
Spritz a little water on the surface, sprinkle salt for texture, then scrub with lemon halves in circular motions. If you’re using a lemon rind, rub it across the surface to emulsify oils. Rinse with a damp cloth and dry.
Benefits: natural fresh scent, non-toxic, quick updates. When to use: after cooking with strong smells or when your surface looks dull.
4. Soapy Water + Scrubbing Pads: The Classic Combo
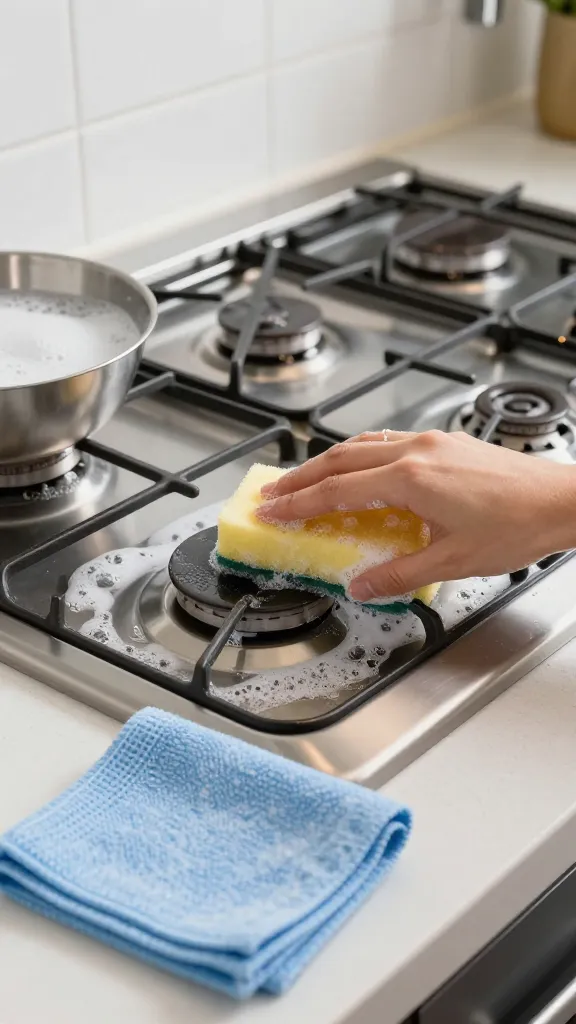
Sometimes the simplest tools are the best. Warm soapy water loosens grease and makes scrubbing more forgiving. It’s the reliability you can count on on busy weeknights.
What to Do
- Fill your sink or a big bowl with hot water and a squirt of dish soap.
- Dip a non-abrasive scrub sponge into the solution.
- Gently scrub the stove, panel, and burners in small sections, then wipe with a clean cloth.
Rinse the sponge often to avoid spreading grease around. Want extra shine? Finish with a dry microfiber buff. It’s amazing how a simple wipe-down can revive the glow.
Benefits: reliable, inexpensive, easy to customize. When to use: routine cleanups and after any cooking session.
5. Goo Gone for the Gunk: The Stubborn Spotlight
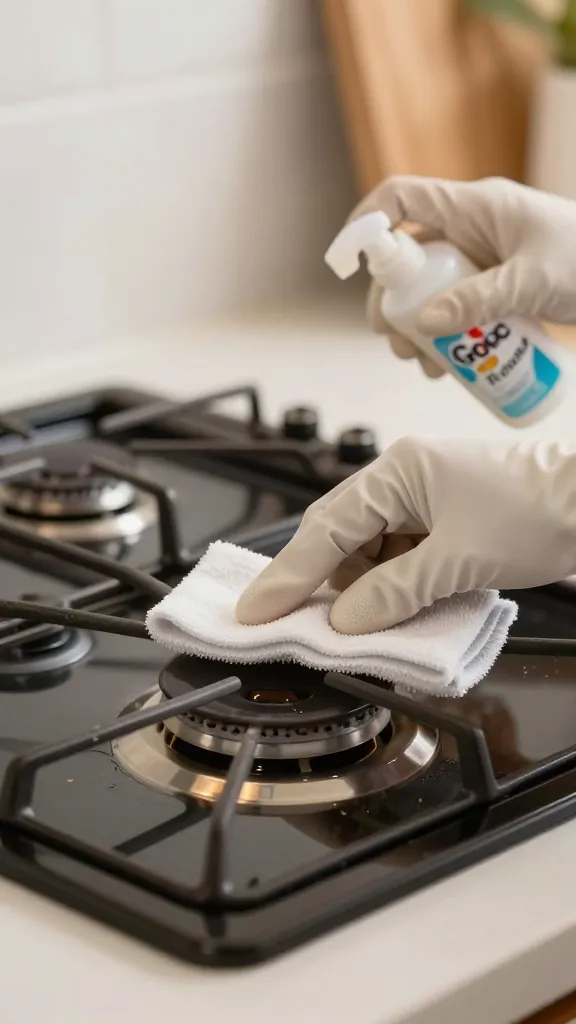
Some messes are just stubborn. For those, a dedicated cleaner designed for sticky residue can be life-changing. This hack keeps you from scrubbing until your wrists beg for mercy.
Approach
- Apply a small amount of Goo Gone or a similar degreaser to a soft cloth.
- Gently rub over tough spots, avoiding controls and sensitive parts.
- Wipe clean with a damp cloth, then dry with a towel.
Always test on a small area first and follow with a water rinse to remove any cleaner residue. Benefits: tackles tough messes, saves time. When to use: caked-on grease, crayon marks, or melted sugar spills.
6. Finish Line Polish: Protect and Shine
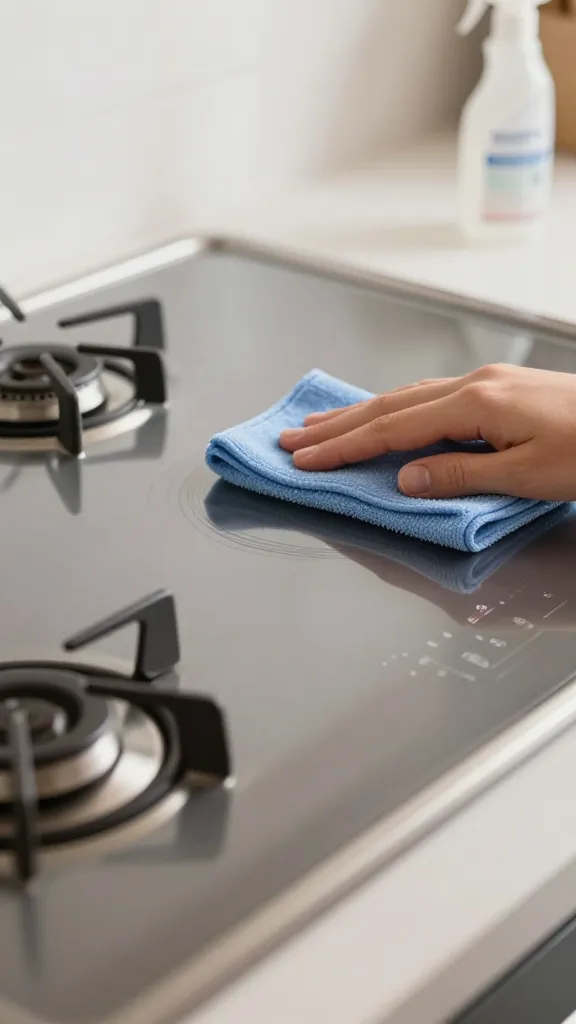
You cleaned it—now keep it that way. A light polish helps repel future splatters and makes the next cleanup even faster. It’s like giving your stove a protective layer that hates grime as much as you do.
Quick Polish Steps
- Wipe the surface with a damp microfiber cloth to remove any remaining residue.
- Apply a tiny amount of furniture polish or a stove-safe shining spray to a clean cloth.
- Buff in circular motions until you see a clear, glossy finish.
Note: avoid spraying directly onto control panels or burners. This coating reduces buildup and makes future wipes effortless. Benefits: less scrubbing next time, longer-lasting shine. When to use: after a thorough clean or when you notice a dull film forming.
Ready to put these hacks to the test? Trust me, your stovetop will look better, and your enthusiasm for cooking will spike because cleanup feels almost magical now. IMO, you’ll probably start bragging about how clean your stove is to friends—don’t say I didn’t warn you.
Conclusion: You’ve got a six-pack of killer stove-top hacks in your pocket. Try one tonight, then another tomorrow, and you’ll turn cleanup into a tiny, satisfying win every day. Go on, give your stove the glow-up it deserves!
Leave a Reply