
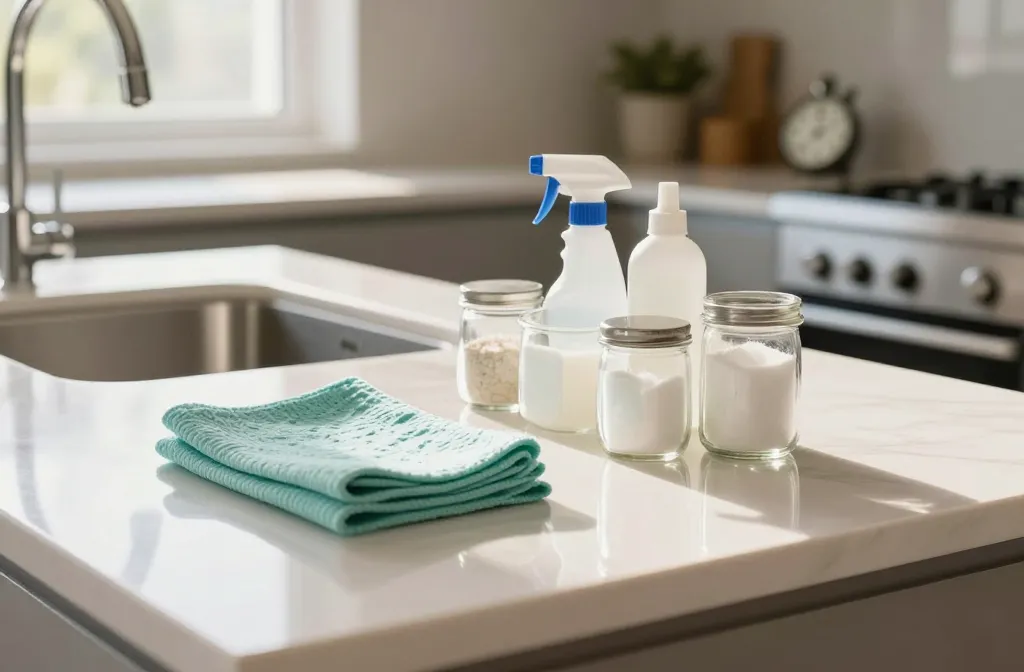
I’m not saying your kitchen is a crime scene, but it sometimes looks like one. Deep cleaning isn’t about vanity—it’s about comfort, safety, and actually enjoying cooking again. Let’s roll up our sleeves and tackle this together, step by step.
Why a deep clean matters more than you think
Your kitchen handles a lot: grease, crumbs, and the mysterious fingerprint trail on the fridge handle. A deep cleaning session isn’t just shiny-surface stuff; it stops grime from building up, helps appliances run better, and cuts down on bad smells. FYI, it also makes you feel like a culinary superhero every time you open that cupboard.
Plan of attack: a game plan you can actually follow
Before you dive in, grab a timer, a few towels, and a playlist that makes you move. Pro tip: break the work into chunks so you don’t burn out halfway through.
- Set a realistic window: 60–90 minutes if you’re doing a full kitchen reset, 20–30 minutes for a quick refresh.
- Gather supplies: all-purpose cleaner, degreaser, glass cleaner, microfiber cloths, sponges, scrub brushes, trash bags, baking soda, white vinegar, and a non-toxic dish soap.
- Open a window or turn on a fan: you’ll thank yourself for the extra airflow.
Step-by-step surface overhaul
This is where the magic happens. Don’t skip corners—think of it like giving each surface a spa day, with less cucumber water and more elbow grease.
Countertops, backsplash, and sink
– Wipe down countertops with a damp microfiber cloth and a mild cleaner. For stubborn stains, a paste of baking soda and water works wonders.
– Clean the backsplash from top to bottom. Don’t miss the grout lines; a soft brush helps.
– Sink time: scrub around the rim, faucet, and drain. If you’ve got a garbage disposal, flush it with cold water and a quick grind of ice and citrus peels every so often.
– Polish with a dry cloth so every surface shines without streaks.
Faucet and handles
– De-grunge the faucet by spraying with an all-purpose cleaner, then buff with a microfiber cloth.
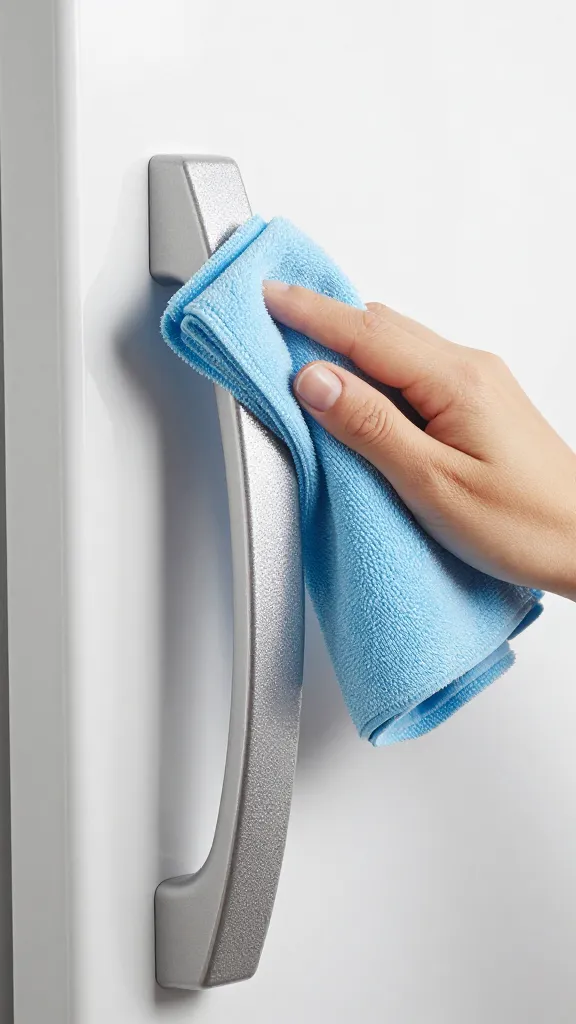
– Don’t forget cabinet knobs, drawer pulls, and the fridge handle. These are fingerprint magnets and can look gross fast.
Appliances: make them sparkle without drama
Appliances aren’t just for cooking; they’re also kind of drama magnets. A clean appliance is efficient and feels more trustworthy.
- Stovetop: Remove grates and burners if possible. Soak them in hot, soapy water while you clean the surface around the stove.
- Oven: If you have a self-cleaning oven, follow the manual. If not, a baking soda paste on the interior works wonders for baked-on gunk.
- Microwave: A bowl of water with lemon juice heated for 3–5 minutes loosens grime. Wipe clean with a cloth.
- Fridge and freezer: Wipe shelves, discard expired items, and wipe door seals with a damp cloth. Don’t skip the bottom bin—it catches a lot of mystery liquids.
Dishwasher and disposal: pamper or replace?
– Run an empty dishwasher with a cup of vinegar or a dishwasher-cleaning tablet every month to prevent buildup.
– Clean the disposal by withstanding the garbage-gurgle gods: run cold water and a handful of ice with a few citrus peels, or use a citrus-scented cleaner. If it smells like a cave, give it a quick blend of baking soda and water and flush.
Cabinets, drawers, and pantry: organization meets hygiene
This part isn’t just tidy; it helps you find stuff faster and reduces cross-contamination.
Inside cabinets and drawers
– Remove items, wipe shelves with a mild cleaner, and dry completely before returning items.
– Check for expired spices, stale crackers, and anything you forgot you owned. FYI, you probably don’t need eight different salt shakers.
Pantry purge and reset
– Inspect cans for dents, boxes for freshness, and bags for pests. Toss what’s past its date.
– Group similar items: baking supplies, snacks, grains, canned goods. Use clear containers so you can see what you have, and label the tops so you don’t forget.
Floors: the foundation of a clean kitchen
Dirt loves to hide under rugs and in grout lines. Don’t leave it to wander.
- Sweep or vacuum to collect crumbs, then mop with a floor cleaner appropriate for your flooring type.
- Pay attention to corners and the area near the trash can—these spots collect a surprising amount of grime.
- If you have tile, a quick scrub of grout lines can make a huge difference. A small brush and a baking soda paste do the trick.
Air quality and micro-messes: small details that matter
A deep clean isn’t just about surfaces; it’s about what you don’t see.
Vent range and hood
– A greasy hood is a magnet for smoke and odors. Remove filters and soak in hot soapy water, then scrub and dry well.
– Wipe the outside of the range hood, paying attention to any knobs or dials.
Trash cans and recycling bins
– Empty, rinse, and let dry. Sprinkle a bit of baking soda at the bottom to curb smells.
– Clean the lid seal to prevent mold and mildew from moving in.
Maintenance mindset: keeping it clean without dying trying
Deep cleaning is a ritual, not a one-off battle. Set up a simple routine so grime doesn’t reclaim the kingdom.
- Small daily wins: wipe down the sink after use, wipe the stove after cooking, and sweep crumbs nightly.
- Weekly refresh: quick wipe of counters and cabinet faces, a mop of the floor, and a quick fridge clean.
- Monthly deep: tackle filters, run the dishwasher, and do a pantry audit. It’s boring in the best way.
FAQ
How often should I do a deep clean of my kitchen?
Aim for a comprehensive deep clean every 1–3 months, depending on how much you cook, how messy your space tends to get, and whether you have kids or pets tracking in the chaos. If you’re hosting big meals, consider a quick touch-up the day after.
What are the best cleaners to use for a deep kitchen clean?
Use a mild all-purpose cleaner for most surfaces, a degreaser for the stove and hood, and a glass cleaner for shiny surfaces. Baking soda and white vinegar are your friends for stubborn spots and odor control. Keep it simple and avoid mixing cleaners with bleach or ammonia, unless you want a science experiment in your kitchen.
How can I clean tough stains without damaging surfaces?
Test a small hidden area first, especially on delicate countertops. A paste of baking soda and water works well on many surfaces, but always rinse and dry thoroughly. For stainless steel, use a dedicated stainless cleaner and microfiber cloth to avoid streaks.
Is it okay to DIY clean the fridge gasket and seals?
Yes. Wipe the seals with a damp cloth and a mild detergent. If you notice cracks or stiffness, it might be time to replace the gasket so your fridge runs efficiently and doesn’t waste energy.
Conclusion
If you’ve stuck with me this far, you’re basically a kitchen-cleaning ninja in training. A deep clean transforms not just surfaces but your whole cooking vibe. You’ll cook with less fear, find every utensil in under 10 seconds, and actually enjoy the moment you open the fridge to grab a snack. So grab your cleaning playlist, set a timer, and make your kitchen the kind of clean that lasts. IMO, you deserve it.
Leave a Reply