I know the feeling: a sizzling grill, the smell of savory smoke, and a stubborn crust that won’t quit. Let’s fix that with 6 BBQ cleaning hacks that actually feel simple. No drama, just practical tips you’ll actually use.
Hack 1: Clean as you go, the smarter way
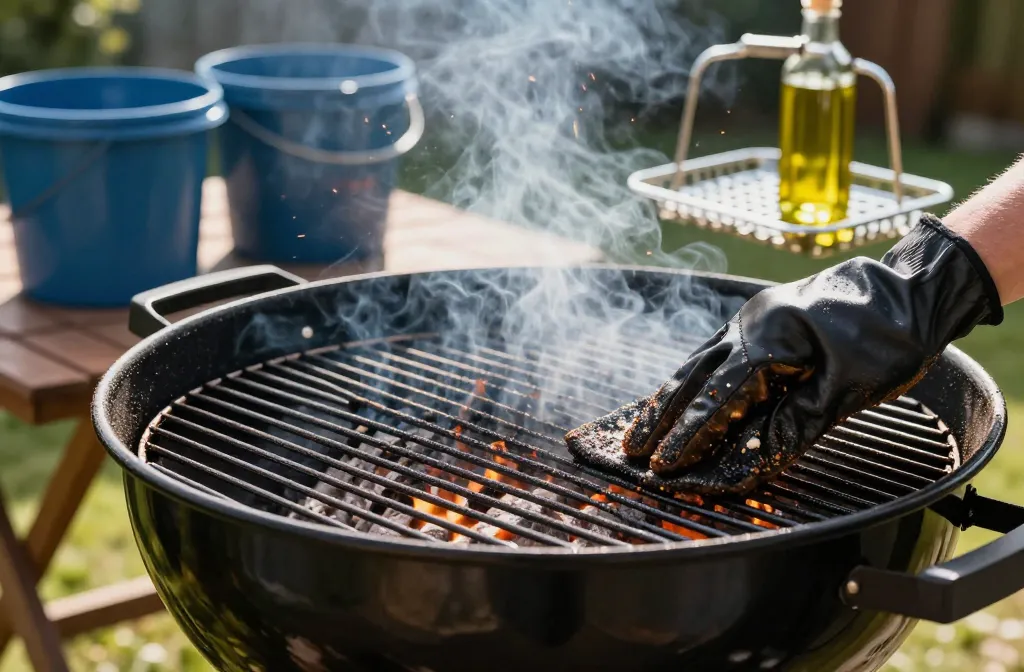
You already know this, but it bears repeating: wipe while it’s fresh. The quick, hot cleanup beats the nightmare of overnight grime. FYI, a quick brush while the grill is still warm makes the stubborn stuff loosen like butter.
– Keep a small bucket of warm, soapy water near the grill.
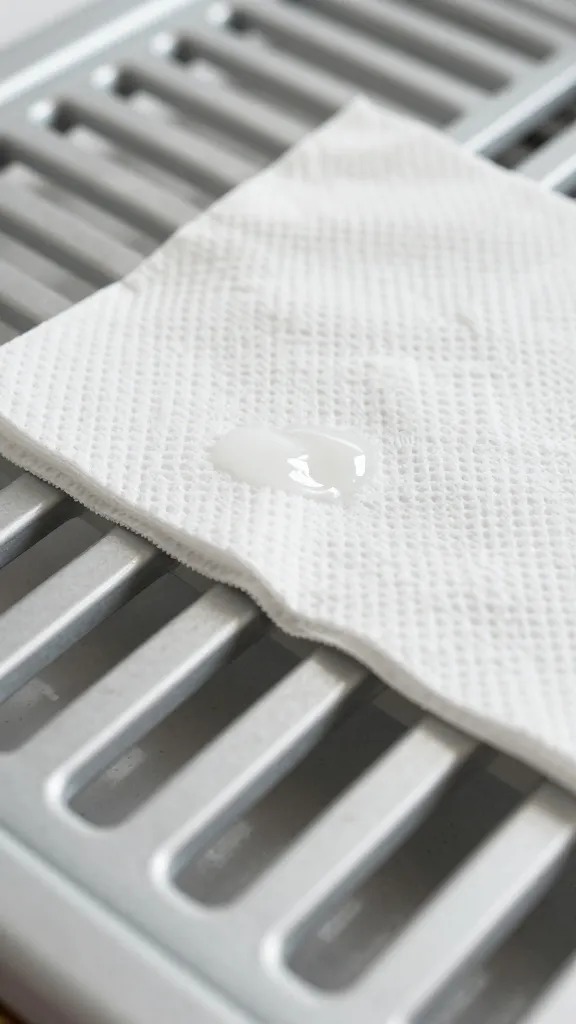
– Use a crumpled paper towel damp with oil to prevent sticking on the rack.
– Put the lid down and let the heat do most of the heavy lifting.
- Brush while the grates are still warm.
- Wipe with a damp cloth before any marinade dries to cement.
- Finish with a wipe-down after every cook session.
Hack 2: The two-bucket method for a sparkling exterior
Your grill’s exterior can look battle-scarred from years of sizzling glory. Here’s a quick, friendly routine to restore the shine without a full spa day.
– Bucket A: warm water + a splash of dish soap.
– Bucket B: fresh water for a rinse.
– Use a non-abrasive sponge to avoid scratches.
- Dip in soapy water, wipe, then rinse with clean water from Bucket B.
- Dry with a microfiber cloth to prevent water spots.
- Polish chrome or stainless with a dab of olive oil on a cloth for a quick shine.
Subsection: Dealing with stubborn exterior grime
If you’re staring at caked-on grease, don’t panic. Let the warm soapy water soak for a minute, then scrub in circles. For chrome logos or handles, a soft toothbrush can be your secret weapon. No need to brute force—save the scratches for your next grill skills demonstration.
Hack 3: The ash-to-gold transformation with safe ash disposal
Ash isn’t just trash; it’s fuel for your next clean slate. Don’t store it in a plastic bag that smells like a campfire gone rogue.
– Let ashes cool completely.
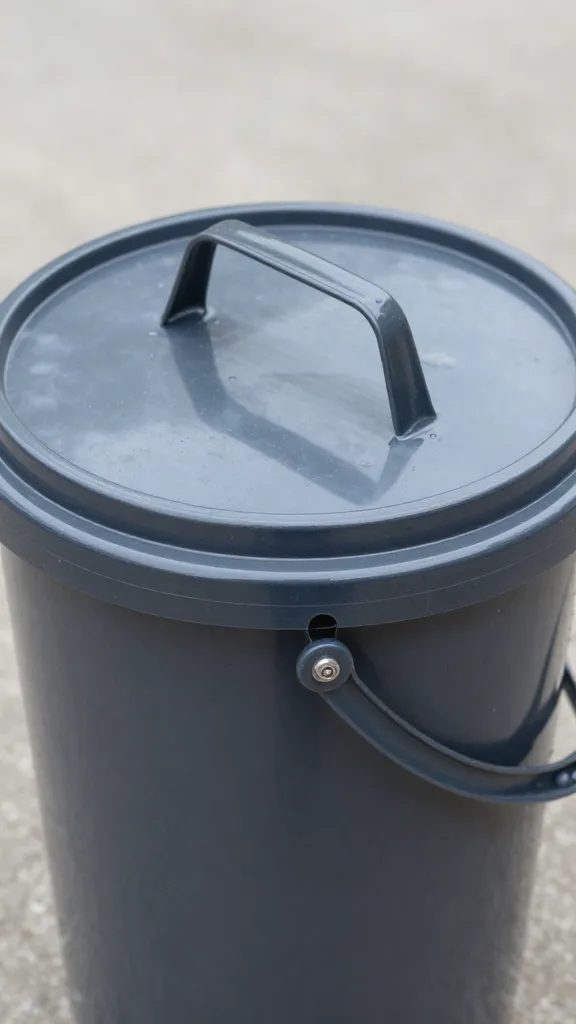
– Scoop into a metal container with a tight lid.
– If you want to repurpose them, a tiny dash around the grill base can help deter pests, but avoid contact with live flames.
- Never dump hot ashes into the trash without cooling.
- Keep a metal bucket nearby during the cooking season.
- Caption for the curious: ash can slip into the lawn for de-icing in a pinch, but not in big amounts.
Subsection: Cleaning the ash pan without headaches
Remove the ash pan, knock out the loose stuff, and wipe with a damp cloth. If you see damp ash leftovers, a damp sponge can do wonders. FYI, wear gloves—ash isn’t fun on bare skin.
Hack 4: Deep clean without disassembly anxiety
Sometimes you don’t need to dismantle the whole thing to reclaim that shine. A focused deep clean can revive even a stubborn unit.
– Seal-off the gas lines to avoid surprises (safety first, obviously).
– Soak removable racks in warm, soapy water while you tackle the body.
– Use a non-abrasive scrubber for the interior walls to avoid scratching.
- Remove racks, soak, and scrub with a soft brush.
- Scrub interior walls with a warm soap solution, then rinse.
- Reassemble and burn off any residual soap by running at high heat for 10 minutes.
Subsection: When to consider a deeper corrosion check
If you spot rust that’s more than a small speck, it’s time to evaluate parts that may need replacing. Don’t ignore rust—it likes to multiply behind the scenes. Better to swap a stubborn grate than have it fail mid-sizzle.
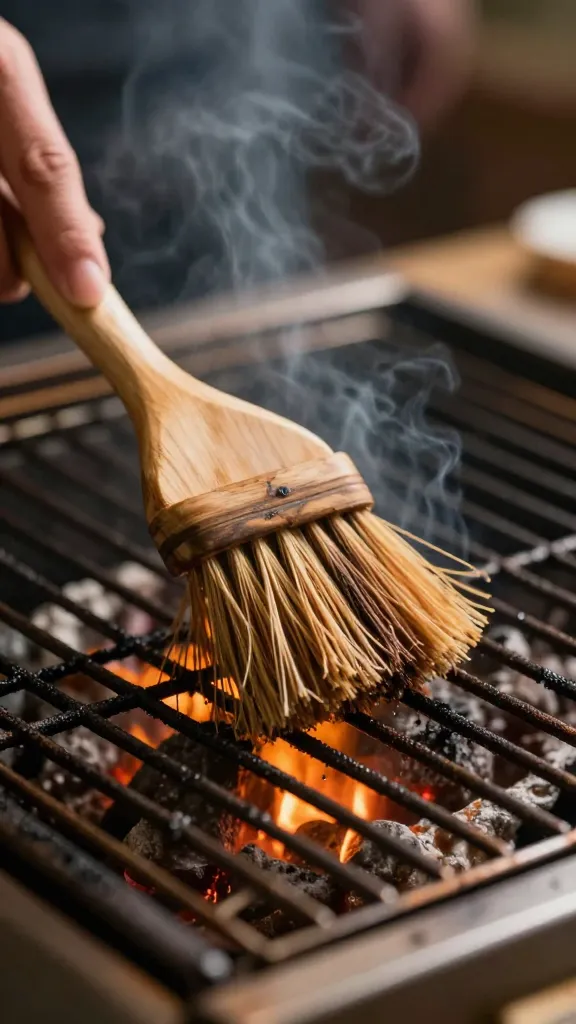
Hack 5: Grates that stay slick with a simple seasoning ritual
Seasoning isn’t just for skillets. A quick, regular seasoning on your grates helps create a natural non-stick surface today and next time.
– Preheat the grill to high heat.
– Apply a thin coating of high-smoke-point oil (grapeseed, canola, or clarified butter).
– Let the grill burn off the oil for 15 minutes.
- Heat the grill to about 500°F and let it sit for a few minutes.
- Wipe away excess oil with a clean cloth.
- Repeat every few uses to maintain the slickness.
Subsection: A quick nightly seasoning routine
If you’re cooking frequently, a quick wipe with oil afterEach cook session keeps things smooth. Don’t slather it on—little dab will do ya. It’s like sunscreen for your grill, but tastier and for metal.
Hack 6: The “clean as you grill” spice routine
Turn cooking into cleaning without breaking your vibe. Build a tiny kit you actually want to use.
– A silicone brush for easy oiling and scrubbing.
– A sturdy scraper that won’t chew into gaskets.
– A microfiber cloth stash for quick wipe-downs.
- Brush the grates between flipping, not just at the end.
- Scrape off stuck-on bits with care, not brute force.
- Keep a dedicated towel for grill use only—less cross-contamination, more chill.
FAQ
Are these hacks safe for all grill types?
Most tips work for gas grills, charcoal grills, and pellet grills. Always consult your owner’s manual for any model-specific cautions, especially around ignition sources and electrical components. When in doubt, test a small area first.
What if I have lingering odors after cleaning?
Open the lid and let fresh air circulate. You can also wipe down with a mixture of water and a splash of white vinegar, then rinse. If the smell sticks around, a light burn-off with the lid closed on high heat helps.
How often should I do a deep clean?
If you grill year-round, a deep clean every 2–3 months keeps things tidy. If you use it heavily or live in a humid climate, monthly is reasonable. Short, regular cleanings beat a headache later.
Can I use household products for tough stains?
Yes, but avoid harsh chemicals that could leave residues or corrode parts. Stick to mild soap, vinegar solutions, and non-abrasive scrubbers. FYI, always rinse well to prevent any soapy taste on your food.
What are the best tools to keep handy?
A silicone brush, a sturdy grill scraper, a microfiber cloth, a soft nylon scrubber, and a metal bucket for ash or oil drips. Bonus points for a spray bottle with a half-water, half-vinegar mix for quick touch-ups.
Conclusion
Cleaning doesn’t have to be a chore; it can be part of the ritual you actually enjoy. With these six hacks, your grill stays ready for the next cook, not buried under a mountain of grime. IMO, a little routine goes a long way, and a few smart habits will make cleanup almost effortless. If you’re feeling bold, try pairing one hack with your next grilling session and see how quickly cleanup feels like a breeze. Happy grilling, friend—now go get that sizzle clean.
Leave a Reply