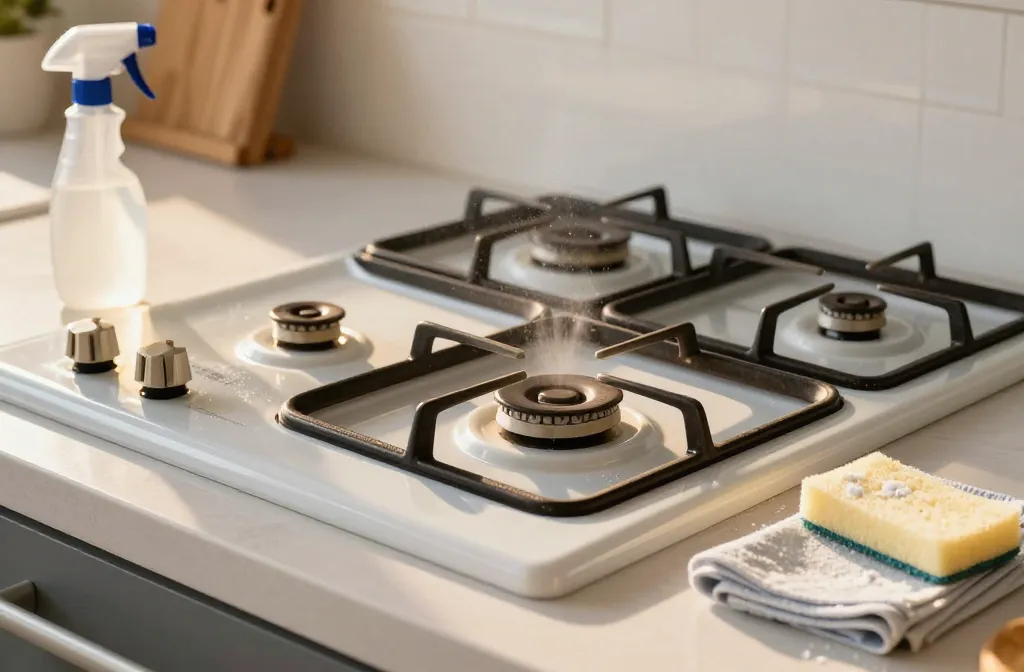
Quick, practical, and a little sassy: cleaning your gas stove doesn’t have to feel like a full-body workout. You spill, you scrub, you conquer. These six hacks actually work, and you’ll wonder why you waited this long to try them.
1) The quick spritz combo: dish soap, vinegar, and warm water
Let’s start with the basics that actually make a difference. A gentle, effective clean sets the tone for the rest of the hacks.
– Mix a couple of drops of dish soap with warm water in a spray bottle.
– Add a splash of white vinegar for that extra bite against grease.
– Spray liberally on the grates, burner caps, and the surface. Let it sit for 5–10 minutes to loosen the grime.
Why this works: soap breaks down grease; vinegar cuts through mineral buildup and grime. It’s like a power duo who actually shows up to the party. FYI, don’t soak the burners in water for too long—keep it brief to avoid rust.
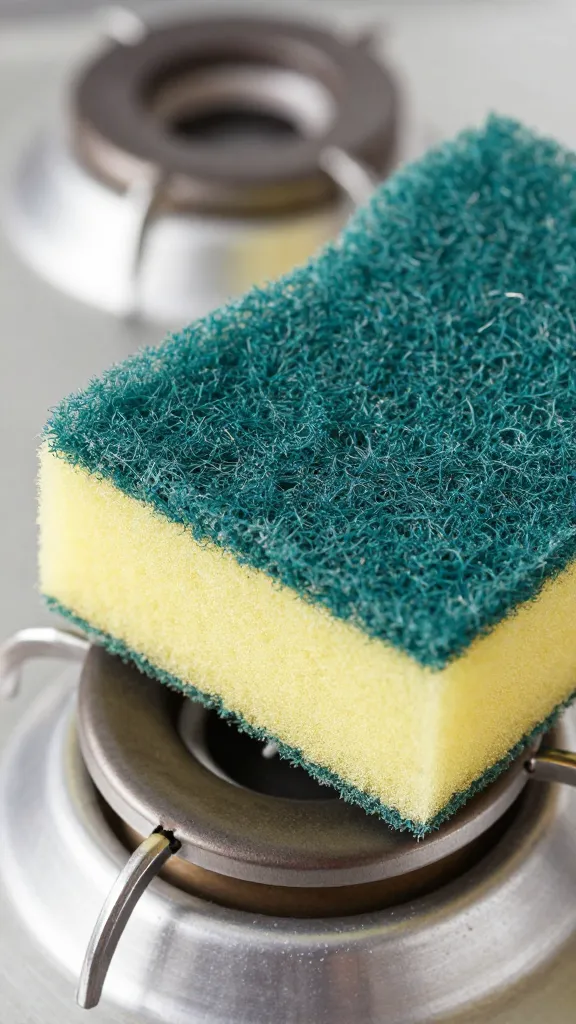
2) Scrub smart, not hard: the non-scratch approach

You don’t need heavy-duty abrasives to do serious cleaning. A little elbow grease plus the right tools goes a long way.
– Use a non-abrasive sponge or microfiber cloth for the surface.
– For stubborn spots, sprinkle baking soda on a damp sponge and scrub gently in circular motions.
– Rinse with clean water and dry with a microfiber cloth to prevent water spots.
Tips that save you time:
– Focus on the burner caps and grates first; once they’re sparkly, the rest feels easier.
– If something sticks stubbornly, re-spray and give it another 5 minutes to loosen up.
3) Grates and burner caps: soak, then scrub like a pro
Grates and caps take the brunt of heavy cooking. They deserve a spa day.
3.1 Soaking method that actually works
– Remove the grates and caps and pop them into a sink or basin.
– Fill with hot water and add a splash of dish soap. Optional: a few drops of ammonia if you’re not squeamish (ventilation is key).
– Let soak for 30–60 minutes. The gunk should float away with a little agitation.
3.2 The scrub-down
– After soaking, use a soft brush or old toothbrush to tackle stubborn corners.
– Rinse thoroughly and dry completely before reassembling.
Why soak? It loosens the baked-on stuff without turning your arms into a chalky mess. This is where you’ll see the biggest payoff per minute spent.
4) Burner heads: the delicate balance of heat and hygiene
Burner heads are tricky. You want them clean, but you don’t want to damage them.
– Wipe gently with a damp cloth to remove loose debris.
– If you notice clogs in the ports, use a toothpick or a soft-bristle brush to clear them—careful, don’t push debris further in.
– For stubborn buildup, a quick paste of baking soda and water can help. Apply briefly, then wipe away.
Important: never submerge burner heads in water. They’re not fans of soaking, and you’ll end up with trouble re-igniting.
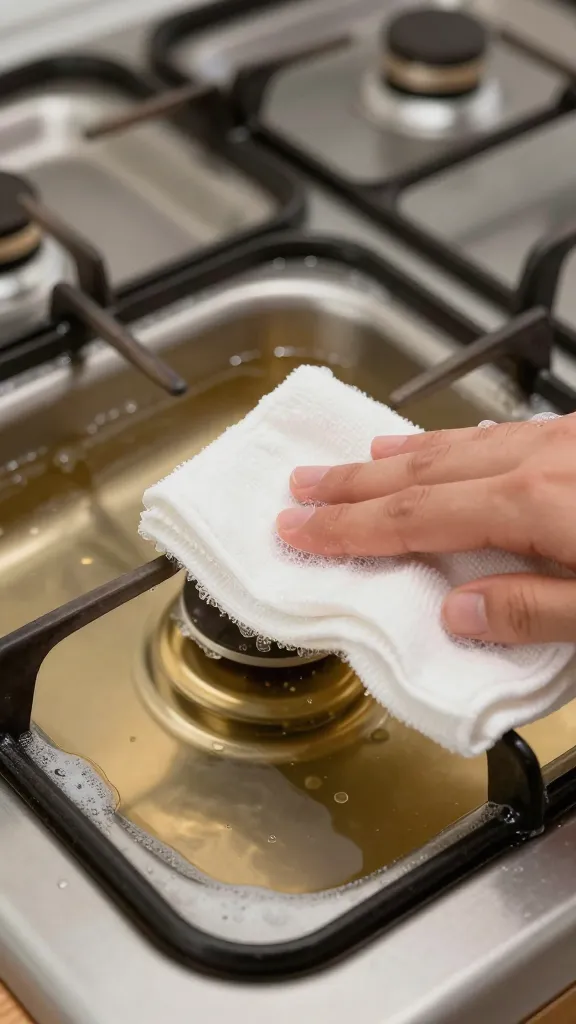
5) Drip tray drama solved: keep it tidy without drama
Drip trays collect a lot of the mess, and a clean tray keeps your stove looking fresh.
– Remove the tray and wipe the surface to remove loose crumbs.
– Soak the tray in warm, soapy water for 15–20 minutes to loosen tough spots.
– Scrub with a non-scratch pad, rinse, and dry before putting back.
If you’re feeling fancy, line the tray with foil for easier cleanup next time. Just don’t block drainage or heat vents—comfort is king, but safety is king’s sidekick.
6) A maintenance routine that sticks: quick weekly wins
Six hacks are great, but consistency is what keeps your stove looking decent with minimal effort.
– Quick wipe-down after every cooking session: a damp cloth with a touch of dish soap does wonders.
– Weekly deep clean: hit the burners, caps, and grates with the soak-and-scrub method.
– Monthly check for corrosion or loose parts: tighten screws, replace worn gaskets if needed.
Ask yourself: is this faster than scrubbing for hours? If the answer is yes, you’re in the right rhythm.
When you hit a snag: troubleshooting quick hits
Sometimes things don’t go as planned. Here are fast fixes for common hiccups.
– Sticky burners: re-aim the gas ports with a wooden toothpick, then wipe clean.
– Weird smell after cleaning: run the hood vent for a bit and ensure nothing is left damp near electrical components.
– Pitting or rust on metal parts: consider replacing worn pieces rather than fighting a losing battle.
If it seems unsafe or you’re unsure, don’t DIY beyond your comfort zone. Safety first, bragging rights second.
FAQ
Is it safe to use vinegar on gas stove surfaces?
Yes, vinegar is safe for many gas stove surfaces and helps cut grease and mineral buildup. If your manufacturer warns against any acidity, do a spot test on a small area first.
Can I put burner heads in the dishwasher?
Usually not. Burner heads aren’t designed for dishwasher cycles and can warp or corrode. Stick to hand washing with warm soapy water and a soft brush.
What if the burners won’t ignite after cleaning?
Sometimes moisture or cleaning residue can cause a brief ignition hiccup. Dry everything thoroughly, reassemble, and try again. If it still won’t light, check the igniter and gas supply or consult a pro.
How often should I deep-clean my gas stove?
Aim for a deep clean every 1–2 months, depending on use. If you cook heavy sauces or splatter-prone foods, you might want to shorten that interval to every 3–4 weeks.
Do I need to wipe with a dry cloth after cleaning?
Yes. A quick dry pass helps prevent water spots and corrosion, and it makes the surface look extra glossy.
Conclusion
Cleaning your gas stove doesn’t have to be a saga. With these six hacks, you get real results without turning cleaning into a full-time job. Quick sprays, smart soaking, and a little elbow grease go a long way. IMO, the trick is to keep it simple, stay consistent, and have a little fun with it. Your stove will thank you with cleaner flames and fewer excuses for avoiding dinner prep.
Leave a Reply