
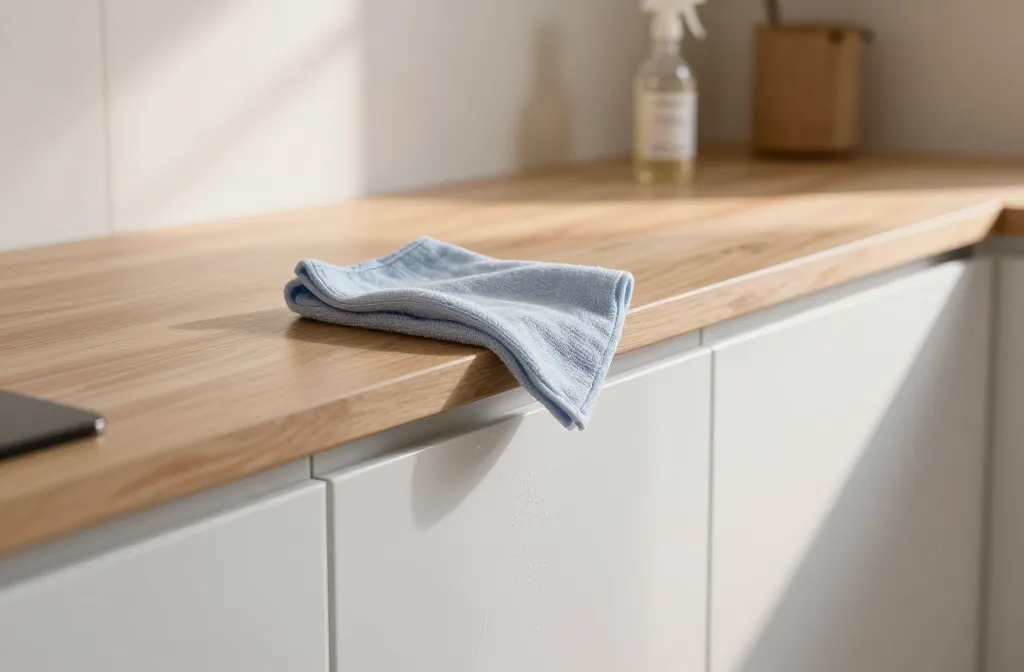
I know the feeling: you open the cabinet full of fingerprints, mystery splatters, and a cabbie-level grease layer that could pass for a biology experiment. You want clean cabinets without turning your kitchen into a lab. Let’s cut to the chase with hacks that actually work and won’t wreck your sanity.
Why greasy cabinets drive you nuts—and how fast you can fix it
Grease loves hanging out on cabinet doors like it owns the place. It sticks, it smears, it mocks your eco-friendly hopes. The good news: a few practical hacks can banish that glow and keep grime from sneaking back in. No need for fancy ingredients or a treasure map to the nearest cleaning aisle. FYI, consistency matters—gentle scrubs, not brute force, usually wins.
The simplest, no-nonsense cleaner that actually works

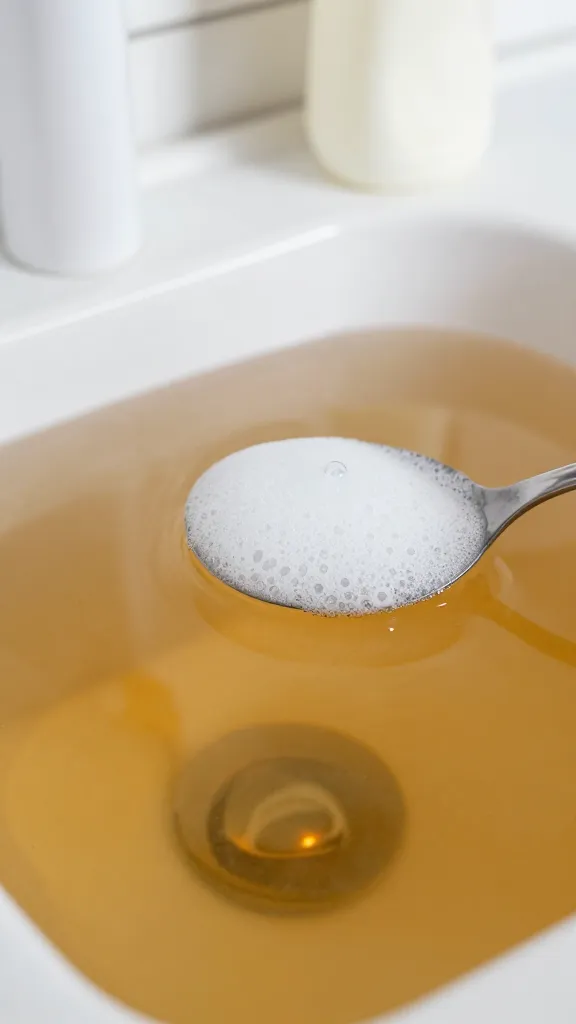
If you’re overwhelmed by a cabinet full of options, start here. A reliable combo is warm water, a drop of dish soap, and a splash of white vinegar. Use a microfiber cloth and wipe in the direction of the wood grain.
– Why this works: dish soap cuts grease, vinegar dissolves residue, and warm water flushes it away.
– Pro tip: test on a small, inconspicuous spot first to avoid any finish drama.
– Quick routine: wipe, rinse with a damp cloth, dry with a clean towel.
- Dip cloth into warm soapy water.
- Wipe doors and frames top-to-bottom.
- Rinse with a cloth dampened in plain water.
- Dry everything so no water sits and crowds your cabinet life.
When DIY sprays get fancy (without turning into a scientist)
If you want something a notch stronger but still simple, try a spray made from everyday pantry items.
Two-ingredient miracle spray
– 1 cup warm water
– 1 tablespoon baking soda
– Optional: 1 teaspoon white vinegar for extra oomph
Shake gently and spray on greasy patches. Let it sit for a minute, then wipe away with a microfiber cloth. Baking soda acts like a gentle abrasive, lifting grease without scratching finishes. FYI, avoid letting baking soda sit long on delicate coatings.
Oil-based finish caution
If your cabinets have an oil-based finish, avoid harsh solvents that could strip the gloss. Stick to milder options and always dry thoroughly. IMO, when in doubt, test a small area first and err on the side of gentleness.
Stubborn spots and the “one more wipe” reality
Some spots won’t quit. Don’t smudge a greasy little corner into a bigger problem.
– Use a plastic scraper or a credit card to lift caked-on grime gently. Avoid metal scrapers that can scratch.
– For grease that’s baked on or sticky, sprinkle a small amount of baking soda on a damp cloth and buff in circular motions.
– If the smell bothers you more than the mess, add a tiny drop of essential oil to your cleaning solution. But make sure your cabinets can handle fragrance—some finishes might react.
Deep-cleaning cadence: keeping cabinets shiny without wrecking them
A good schedule beats a heroic scrub session. Set a rhythm that fits your life.
– Quick weekly wipe: a 5-minute pass to catch drips and fingerprints.
– Monthly deep clean: a more thorough wipe-down, focusing on handles and the areas near the hinges.
– Seasonal refresh: check for peeling finish, loose hardware, and edge wear.
Pro tip: Clean the doors while they’re closed to avoid dust airborne drama. Also, consider labeling or color-coding hardware so you don’t mix up hinges after a repaint.
Hardware and hinges: the tiny gremlins behind the grime
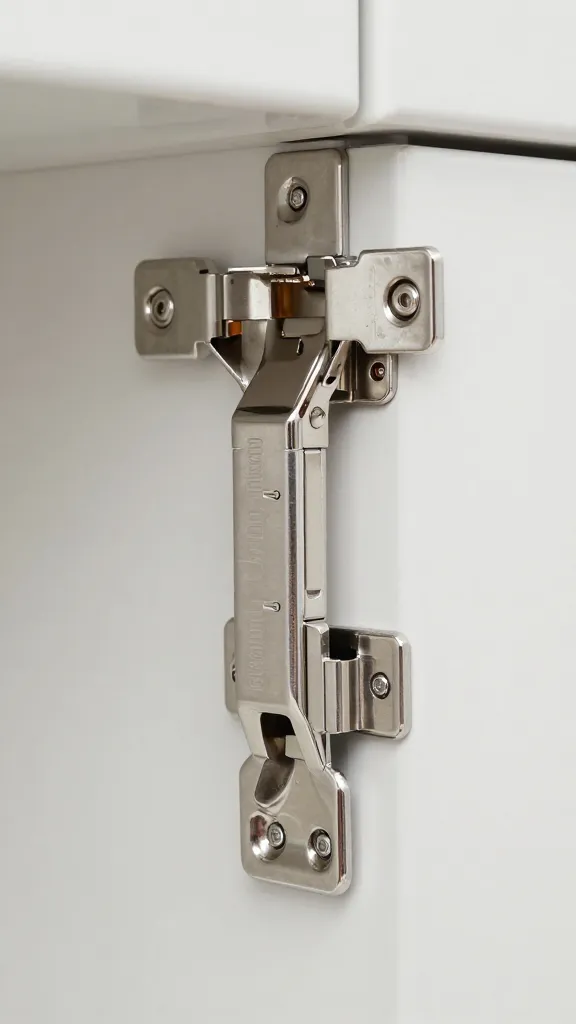
Grease doesn’t just hide on faces of the doors; it loves the hardware too. Handles, hinges, and drawer pulls can collect a surprising amount of grime.
Handles and pulls
– Wipe with a damp cloth, then dry. For stubborn grime, use a mild dish soap solution.
– If you have brushed metal, avoid abrasive pads that dull the finish.
Hinges and doors
– Wipe hinges with a small brush or toothbrush to reach crevices.
– Tighten loose screws and check for rust spots. If you spot rust, address it early with a rust remover and protective wipe.
Common mistakes that sabotage your clean cabinets
Avoid these faux pas that turn cleaning into a longer chore.
– Using abrasive cleaners on wood: you can scratch and dull the finish. Stick to gentle cleansers unless you know the coating can take more.
– Spraying cleaners directly on hinges: you’ll get drips and possible moisture damage. Spray on a cloth instead.
– Soaking wood surfaces: water intrusion causes warping and swelling. Wipe, don’t soak.
FAQ
What’s the quickest way to remove a grease film from cabinet fronts?
A quick pass with warm water, a drop of dish soap, and a microfiber cloth usually does the trick. If needed, add a splash of white vinegar for extra bite. Rinse and dry to prevent streaks.
Can I use vinegar on all cabinet finishes?
Most finishes handle diluted vinegar fine, but test first on an inconspicuous spot. Some painted or waxed surfaces may dull with acid. If you’re unsure, stick to warm water and a mild soap.
How often should I deep-clean greasy cabinets?
Aim for a light weekly wipe and a fuller deep-clean every 1–2 months, depending on kitchen use. If you cook with a lot of oil or fry foods, you might want to clean more often.
Are homemade cleaners safe for children and pets?
Most basic mixes are safe in small amounts, but keep cleaners out of reach and dry completely. If anyone has allergies or sensitivities, skip strong scents and test first.
What about wooden cabinets with a clear finish?
Be extra gentle. Use mild soap, water, and a soft cloth. Avoid soaking and limit exposure to moisture. For a protective boost, apply a wood conditioner or polish recommended by the cabinet manufacturer, following the product directions.
Conclusion
Clean grease off cabinets, not your sanity. With simple, repeatable steps, you’ll keep your kitchen looking fresh without turning cleaning into a full-time gig. Try the basic routine first, then layer on the tricks you like. IMO, the best hacks are the ones you actually use—consistency beats hidden genius every time. If you want, share your go-to grease-busting combo and we’ll compare notes. Let’s keep those cabinets gleaming and drama-free.
Leave a Reply