
Clean up under the kitchen sink without drama. It’s a tiny space, but itholds big mess-energy. You don’t need fancy gadgets—just a plan, a little elbow grease, and maybe a funny rubber glove moment. Let’s dive into practical, no-nonsense ideas that actually work.
What makes under-sink cleaning feel like a treasure hunt
We all know the vibe: a crumb trail, a puddle, and a mystery bottle gathering dust like a neglected trophy. The secret? Start with a quick audit, then tackle in layers. First layer: lightweight decluttering. Second layer: catch-all organization. Third layer: a cleaning sprint with a few trusty products. FYI, a tidy space reduces future chaos and makes you look like a cleaning pro, even on a Tuesday.
Quick declutter that actually sticks

Throwing everything out isn’t the vibe here. You want a clean zone, not a landfill for unknown mystery bottles.
- Remove all items and categorize: cleaners, paper towels, hardware, and tools.
- Check expiration dates on cleaners. If it smells off or hasn’t been used in ages, recycle or dispose properly.
- Discard empty bottles and consolidate duplicates. One all-purpose cleaner is sometimes enough, unless you’re a dedicated chemist in the making.
What to keep, what to ditch
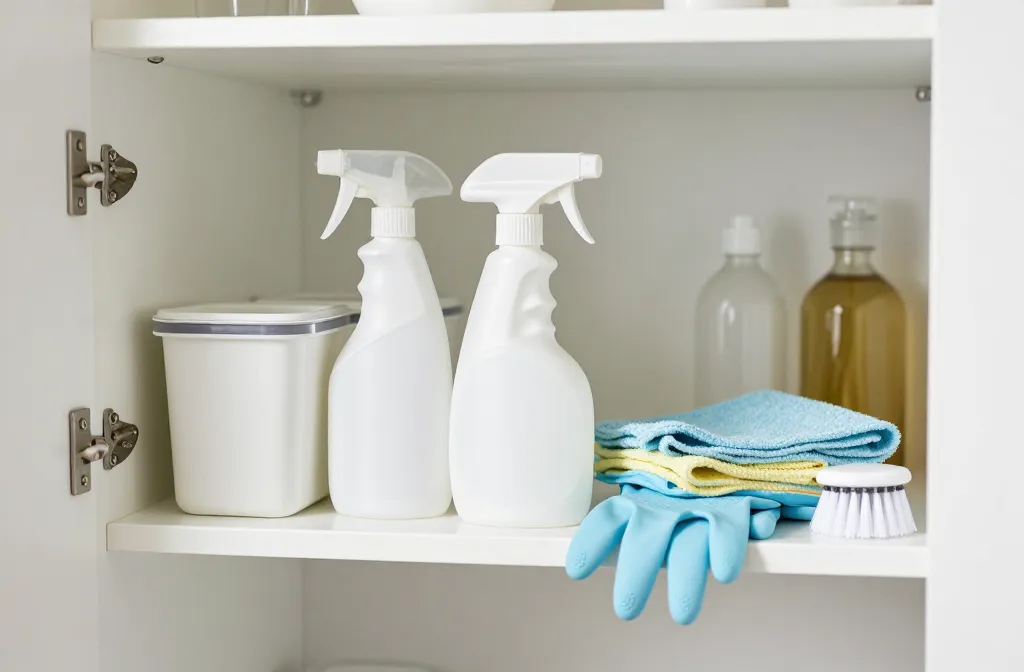
- Keep: a sturdy spray bottle, a microfiber cloth, rubber gloves, a small scrub brush.
- Routinely ditch: old sponges that look suspicious, and anything you can’t identify.
- Label and date containers if you must keep several products. It saves you from a chemistry experiment later.
Smart storage that actually makes sense
A tidy under-sink setup feels like magic. The trick is accessibility and visibility. If you can’t see what you have, you won’t use it.
- Use small stackable bins or baskets to separate items by category (multi-surface cleaners, gloves, wipes).
- Install a tension rod or small shelf inside the cabinet to create two levels of storage.
- Screw in a slim LED puck light or keep a battery-operated stick-on light for quick visibility.
Labeling and routine checks
Label each bin with a simple tag. Do a quick quarterly sweep to swap out expired products and rehome items that have wandered in from the pantry. The goal: you can grab what you need in under 30 seconds and not turn the cabinet into a game of “Where did I put that thing?”.
Deep-clean ritual that actually sticks

Now the fun part—the actual cleansing. You don’t need a chemical symphony; a few reliable weapons do the job.
- Wipe-down routine: dry wipe first to remove dust, then damp wipe with a mild cleaner.
- Freshen the space: a dab of baking soda in a small dish absorbs odors; replace every few weeks.
- Spill fixes: tackle leaks or drips at the source. A bucket under the sink isn’t just for drama; it’s for catching leaks before they become mini floods.
Popular clean hacks you can actually trust
- DIY degreaser: mix equal parts water and white vinegar in a spray bottle. FYI, it’s great for grease on metal shelves.
- Microfiber magic: use damp microfiber cloths instead of cluttering with disposable wipes. Eco-friendly and effective.
- Baking soda boost: sprinkle in corners, spray a bit of water, and scrub gently with a sponge. The fizz is basically nature’s cleaning sidekick.
Dealing with leaks and pests like a pro
Under the sink is prime real estate for leaks and, occasionally, tiny uninvited critters. Stay prepared and calm.
- Inspect hoses and pipes regularly for corrosion or drips. A cheap flashlight helps you see the tiny puffs of moisture.
- Contain leaks with a small tray or tub. It protects the cabinet and your floor while you fix it.
- Seal cracks and gaps with a splash of caulk if you notice steam or moisture seeping behind the cabinet.
When to call in a pro
If you notice persistent leaks, mold growth, or warped cabinet panels, don’tDIY the big stuff. A pro can identify hidden damage that could explode into a bigger problem later. IMO, a quick consult saves money and headaches.
Eco-friendly ideas that don’t ruin your space

Green cleaning isn’t a buzzword; it’s smart for your health and the planet. You don’t need to go full herbalist to make a difference.
- Switch to fragrance-free or naturally scented cleaners if you’re sensitive to chemicals.
- Use reusable cloths instead of disposable wipes—less waste and more control over the grit and grime you’re tackling.
- Choose multi-purpose cleaners that work across surfaces to reduce product clutter.
Simple, effective supplies
- White vinegar and water spray for glass and metal surfaces.
- Baking soda for deodorizing and gentle scrubbing.
- Microfiber cloths that can be tossed in the wash for reuse.
Putting it all together: a 15-minute under-sink refresh
If you’re short on time, here’s a tight, efficient routine you can run in a quarter of an hour.
- Step 1: Clear out the cabinet. Put everything on the counter and categorize.
- Step 2: Declutter and wipe down shelves; replace with two or three bins.
- Step 3: Rehome items in their bins, label clearly, and add a small light if needed.
- Step 4: Quick check for leaks while you wipe down the area—two birds, one stone.
FAQ
How often should I clean under the sink?
Paragraph: Do a quick weekly wipe-down to prevent grime buildup, plus a deeper declutter every 1-2 months. If you cook a lot or deal with strong cleaners, bump that to every month.
What cleaners are best for under-sink storage?
Paragraph: Choose a mild all-purpose cleaner, a dedicated degreaser if you cook frequently, and a gentle fabric or microfiber-friendly cleaner. For the cabinet interiors, avoid harsh solvents that can damage finishes.
How can I prevent mold under the sink?
Paragraph: Keep moisture in check with a small dehumidifier or moisture-absorbing packets. Wipe surfaces dry after use, fix leaks right away, and ensure good airflow by keeping doors slightly ajar or adding a small vent if possible.
What are the signs I need a professional?
Paragraph: Persistent dripping, mold growth extending beyond a patch, or soft, swollen wood indicate bigger problems. If you smell something musty or see staining that won’t go away, call in a pro.
Is it worth labeling everything?
Paragraph: Yes. Labels save you time and reduce the chance of grabbing the wrong product. It’s a small effort with big payoff when you’re juggling multiple cleaners.
Conclusion
Under the sink, with a little plan and a dash of humor, you can turn chaos into calm in no time. Keep it simple: declutter, organize, clean, and check for leaks. FYI, a tidy cabinet isn’t just nicer to look at—it makes every cleaning sprint faster and less painful. So grab your gloves, some microfiber magic, and get to it. Your future self will thank you for the extra 60 seconds of daily order.
Leave a Reply