
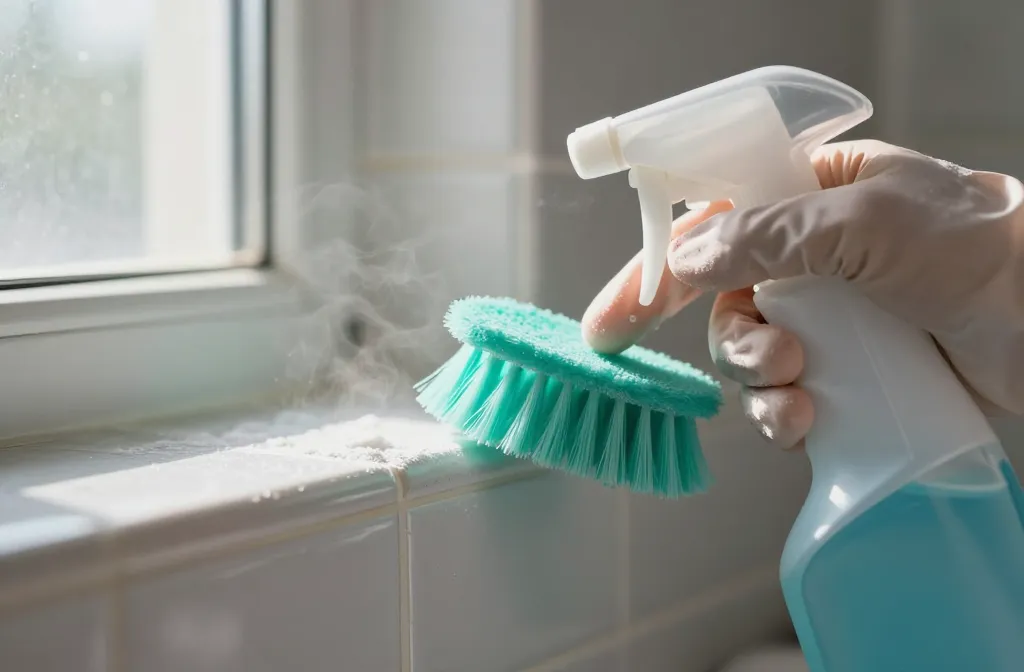
It’s grimy, it’s stubborn, and it’s not going to vanish on its own. But you don’t need bleach to win this battle. Grab your scrub brush, your favorite spray, and your favorite chorus of “I can do this.” We’re clean-grout confident now.
Why grout gets dirty in the first place (and why bleach isn’t always the answer)
Grout sits between tiles like the grout between your teeth—tiny gaps, big consequences. It’s porous, so it soaks up spills, oils, and grime. Food splatters, soap scum, and mineral deposits from hard water all take up residence. Bleach can help, but it’s not the magic eraser for every situation. It can discolor colored grout, irritate sensitive skin, and it won’t tackle organic stains like coffee or red wine on its own. FYI: sometimes the root issue is moisture and poor ventilation, not just surface grime.
What you’ll need to tackle dirty grout without bleach
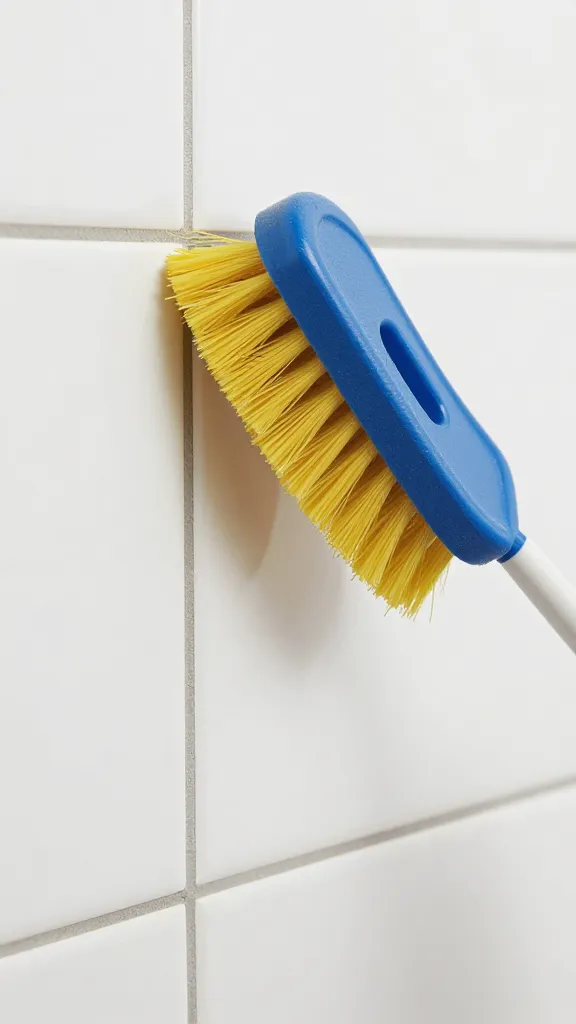
Before you start shouting “show me the cleaners,” here’s your low-to-no-bleach toolbox:
- Baking soda and white vinegar (or lemon juice for a citrus kick)
- Hydrogen peroxide (3% solution works wonders on light grout)
- Dish soap or a gentle cleaner
- A stiff-bristle brush or an old toothbrush
- A squirt bottle and a microfiber cloth
- Optional: steam cleaner for stubborn grime, but use caution on delicate tiles
Method 1: The classic baking soda paste that actually sticks around
There’s something satisfying about a simple paste doing the heavy lifting. Here’s how to do it without turning your bathroom into a science experiment.
- Mix baking soda with water to form a thick paste. Think toothpaste, not pancake batter.
- Smear the paste onto the grout lines. Don’t worry about getting it perfectly neat; you’ll wipe excess later.
- Spritz a little white vinegar into a spray bottle and mist the paste. It will fizz—this is the good stuff working.
- Let it sit for 5–10 minutes, then scrub with a stiff brush. Work in small sections so it stays effective.
- Rinse with warm water and wipe clean. Repeat if necessary for really stubborn spots.
Tip for tough stains
If you’ve got mildew or darker grout, sprinkle baking soda first, then spritz with a little hydrogen peroxide. Let it bubble away. It’s like a tiny chemistry party, but without the lab coat.
Method 2: Hydrogen peroxide for a gentle whitening boost
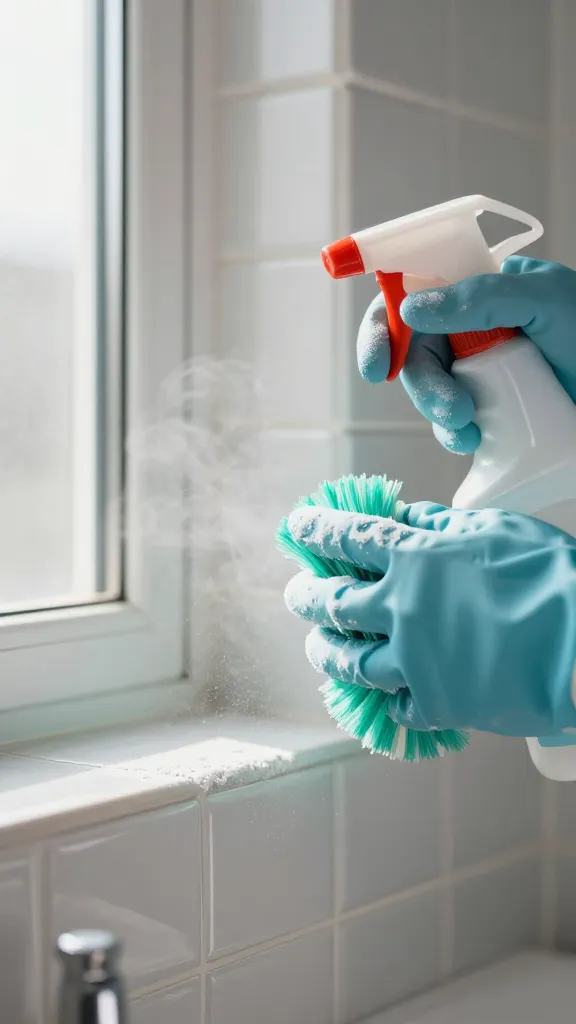
Hydrogen peroxide is a hero for light grout and organic stains without the bleachy fallout.
- Pour 3% hydrogen peroxide into a spray bottle or apply with a cloth.
- Spray the grout, then let it sit for 5–10 minutes. If your grout is very dirty, you can gently scrub while it sits.
- Rinse thoroughly with warm water. Dry the area to prevent future mildew—staying dry is half the battle.
When to avoid hydrogen peroxide
If your grout is colored or very delicate, test a small area first. Hydrogen peroxide can lighten color on some dyes, and you don’t want a mis-match story to tell at party time.
Method 3: Vinegar and dish soap—two unlikely allies that play nicely
If you’re wary of mess, combine some proven cleaners in a safe little routine.
- Mix one part white vinegar to one part water in a spray bottle. Add a few drops of dish soap.
- Spray generously on the grout and let it sit for a few minutes.
- Scrub with a brush, then rinse and dry. The dish soap helps break up oils, while vinegar tackles mineral buildup and odors.
Safety note
Vinegar and baking soda together create fizz, which is satisfying to watch but not necessary every time. If you’re mixing, do it in stages to avoid a bubbly overflow. And never mix bleach with vinegar—okay, I know I said no bleach, but this is a safe reminder for everyone.
Method 4: Steam power (without burning down the house)
Steam cleaning is a chemical-free route that can blast away grime without scrubbing fatigue.
- Use a handheld steam cleaner or a bathroom steam mop attachment. Make sure the tiles and grout can handle steam by checking the manufacturer’s guidance.
- Hold the nozzle close to the grout and go back and forth in short passes.
- Wipe away residue with a microfiber cloth as you go. Dry thoroughly to discourage mildew.
Steam pros and cons
Pro: amazing for baked-in grime, relatively quick. Cons: not every grout type tolerates heat well, and you’ll still want to scrub corners after the steam hits the crowd.
Method 5: The long game—preventing future grout grunge
Stop the grime in its tracks with a few easy habits.
- Ventilate bathrooms during and after showers. The less moisture, the less mold.
- Wipe down tile lines weekly to remove soap scum before it hardens.
- Seal grout every 1–2 years (or per manufacturer instructions). Yes, sealing is a little maintenance, but it pays off.
- Use a grout-safe cleaner for routine cleaning. Avoid abrasive powders that scratch and roughen grout over time.
What sealing actually does
Sealing fills microscopic pores, making grout less thirsty for spills and stains. It’s like putting a raincoat on your grout—stylish and practical.
Common mistakes to avoid (so you don’t undo your hard work)
– Don’t rely on bleach to do the heavy lifting for colored grout. It can discolor and weaken the grout’s color integrity.
– Don’t scrub too hard with a metal brush. You’ll remove grout and create new gaps that invite more grime.
– Don’t skip a final rinse. Residue on grout invites mildew and makes your next cleaning harder.
– Don’t mix cleaners unless you’re sure it’s safe. Some combos produce dangerous fumes or cancel each other out.
FAQ
Can I clean grout with just water?
Water alone won’t remove built-up grime, oil, or mineral deposits. It helps rinse, but you’ll need a cleaning agent or a gentle abrasive to break grime free.
Is baking soda safe for colored grout?
Generally, yes, but test in a small inconspicuous spot first. Some dyes can be sensitive, and you’ll thank yourself for a quick test.
How often should I clean grout?
Do a quick weekly wipe-down and a deeper clean every 2–3 months, or as needed. If you have kids or lots of traffic, you might do it more often.
What if my grout is damaged or crumbling?
If grout is loose, missing, or crumbling, you’ll probably need to regrout. Cleaning helps, but it won’t fix structural issues. Consider a professional if a lot of grout is affected.
Do I need to seal grout after cleaning?
Sealing after a deep clean can protect it from future stains. If you haven’t sealed in a while, this is a good time to consider it. Follow product instructions and allow ample drying time.
Conclusion
Grout doesn’t have to be a forever drama. With a few trusty non-bleach methods—baking soda paste, hydrogen peroxide boosts, vinegar-and-dish-suds magic, or a steam session—you can revive dingy grout without blasting colors or your skin. And once you’ve got a preventive routine in place, you’ll spend less time scrubbing and more time enjoying clean, shiny tiles. So grab your brushes, pick your approach, and get grout-slaying. IMO, you’ve got this. FYI, your future self will thank you for tackling it now.
Leave a Reply