I’ll cut straight to the chase: your wood floors deserve some love, not another sneaky spill left to haunt you. These seven cleaning hacks actually shine, not just pretend to. Ready to make your floors look like they survived a spa day?
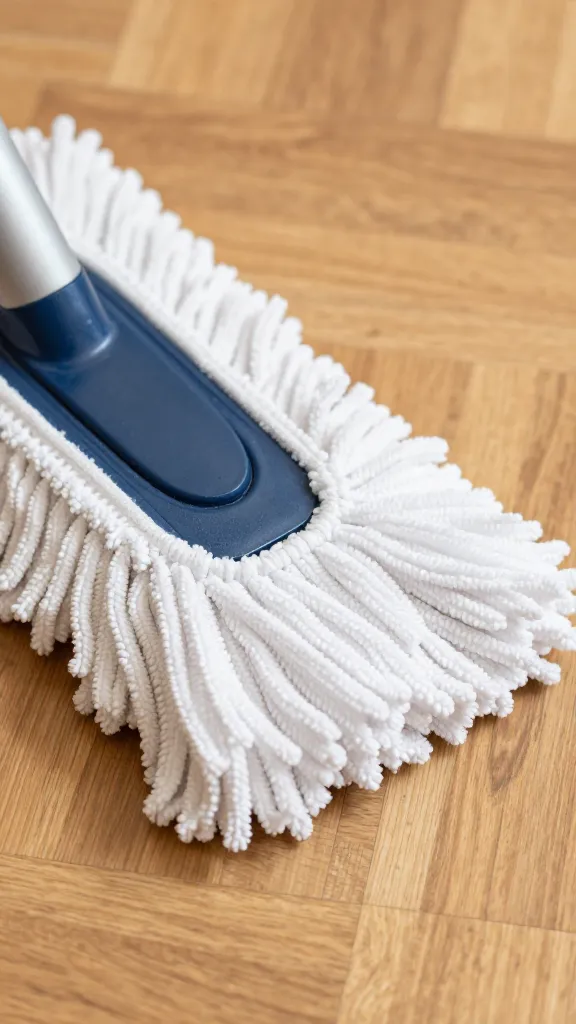
Hack 1: Dry mop like a pro so dirt can’t hide
If you want dust to stop pretending it’s artwork on your maple, grab a microfiber dry mop. Seriously, a quick sweep in every direction—and two extra passes for the corners—takes less than five minutes and pays off all week.
– Why it works: Microfiber grabs fine dust, pet hairs, and the stuff you can’t see until you tilt the light just right.
– Pro move: do it first thing after cooking to catch starches and crumbs before they smear.
Subtle benefits you’ll love
– Reduces wear and tear by keeping particles from grinding into the finish.
– Makes mopping later easier because the floor isn’t already loaded with loose stuff.
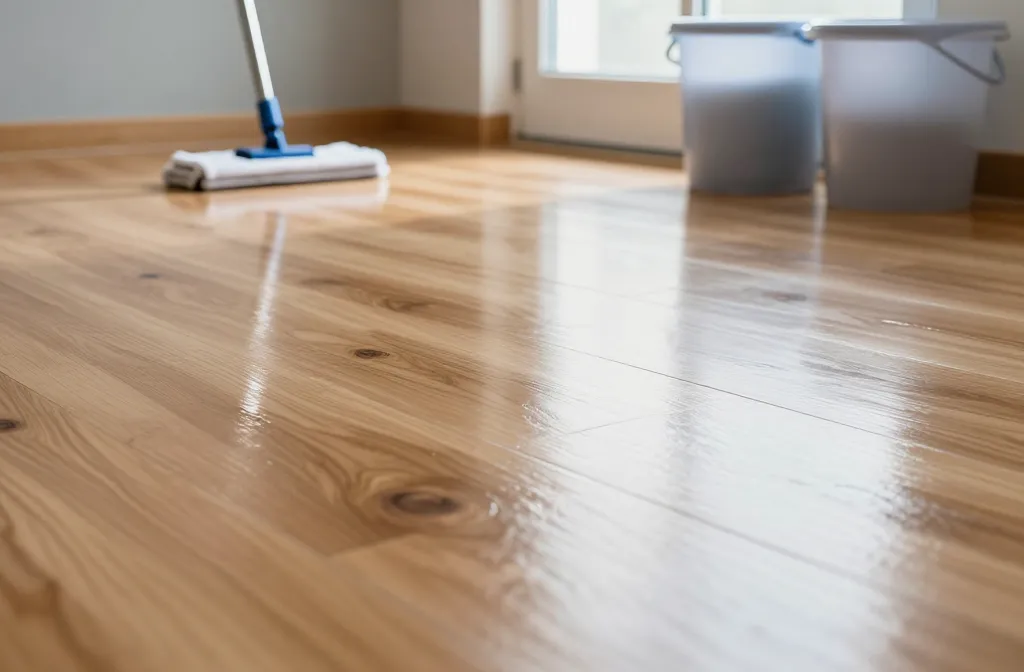
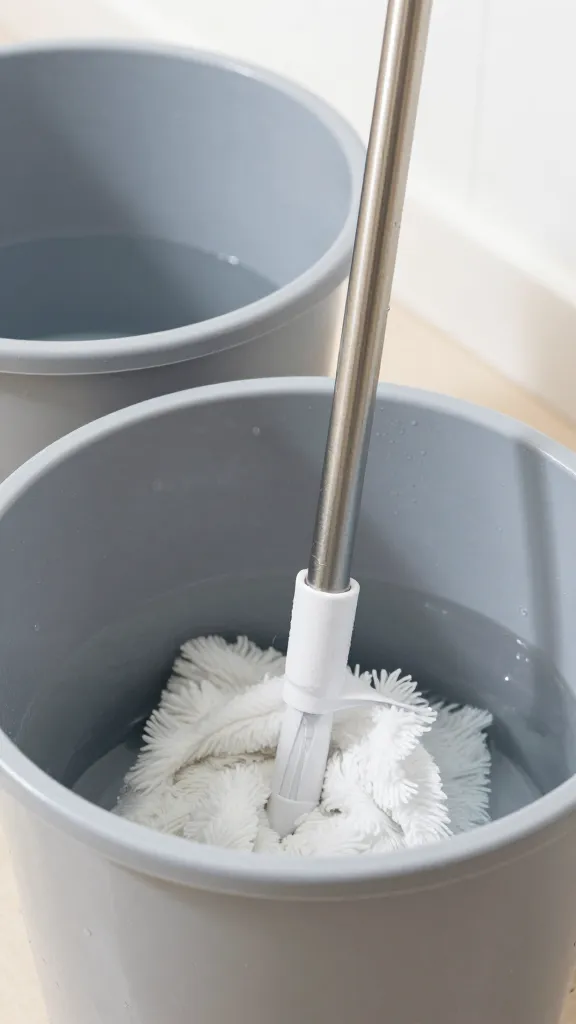
Hack 2: The two-bucket rinse trick that actually matters
Cutting corners with dirty mop water is a rookie mistake. Use two buckets: one with warm water and a few drops of dish soap, the other with clean water for a quick rinse.
– Step-by-step:
1) Dip mop in soapy water, wring out well.
2) Mop in small sections, rinsing the mop in the clean water bucket often.
3) Wring until almost dry to avoid soaking the wood.
Why this matters: excess water is the enemy of wood floors. The goal is damp, not sopping.
When to skip soap
– If your floor already has a waxy or glossy film, a mild soap may leave residue. IMO, a dab of white vinegar in a pinch can cut through grime, but test first on a small patch.
Hack 3: The vinegar-free shine serum
You’ve seen the “mop with vinegar” tip everywhere. It works for some floors, but others hate the acidity. Use a pH-balanced floor cleaner or a drop of mild dish soap in the bucket, then finish with a dry microfiber buff.
– Quick formula: 1 gallon warm water + 1–2 capfuls clear, pH-balanced cleaner.
– Finish with a quick buff using a towel or microfiber pad.
FYI: if your floor has a polyurethane finish, you want to avoid anything too aggressive. Gentle wins the race.
Bonus: DIY newbie test
– Try the cleaner on a small, inconspicuous area first. If you don’t see dulling or streaks after 15 minutes, you’re good to go.
Hack 4: Tackling gunk without scrubbing death rays
Sticky spots from kid snacks or pet paws can be stubborn. Here’s a humane approach that won’t scratch the surface.
– First pass: sprinkle a tiny bit of baking soda on the spot, spray with a mild cleaner, then wipe with a microfiber cloth.
– If it sticks around: dampen a cloth with the cleaner and lay it on the spot for a minute, then wipe away.
Why this works: baking soda is gentle abrasive power without hurting the finish. It’s like diploma-level scrubbing that your floor will approve of.
Where not to go wrong
– Don’t let vinegar sit on hardwood for long periods.
– Don’t use scouring pads; they look tough but wreck finish.
Hack 5: Deep-clean sessions that actually feel spa-like
Every few months, give your floors a deeper clean without wrecking their vibe.
– Plan a 20–30 minute spa day: dust, vacuum, damp mop, buff dry.
– Use a floor-safe polish or restorer if your finish is looking dull. Follow product directions exactly—no improvisation on the finish.
What you’ll notice: color depth returns, scratches seem shallower, and the floor looks more alive.
Subsection: testing a restorer
– Test on a hidden patch first. If the finish looks blotchy or sticky, stop and rinse or call in a pro.
Hack 6: Protect high-traffic zones with smart mats
No amount of cleaning will win if your entranceway looks like a battlefield every day. Mats save the day.
– Front door mats: one dry mat to catch loose grit, one damp mat to trap moisture.
– Area rugs in high-traffic zones: lay them down in front of the sink, entry, and hallways to reduce wear.
Tips:
– Shake out mats weekly.
– Use rug grippers to keep them in place and avoid curling edges that collect dust.
Why this helps: less dirt being tracked means less frequent aggressive cleaning, which is a win for your finish.
Hack 7: The monthly maintenance ritual you actually won’t procrastinate
Put a tiny ritual on your calendar and you’ll actually keep floors looking fresh.
– 30-minute monthly task:
– Quick dry mop to remove surface dirt
– Spot clean any sticky spots
– Optional light buff with a microfiber pad
– Rotate seasons as a reminder to re-check floors for scratches or wear.
This isn’t punishment; it’s a tiny habit that keeps the whole house feeling brand-new.
Subsection: dealing with scratches without panic
– For minor scratches, a wood floor touch-up marker or wax stick that matches your finish can do wonders.
– For deeper gouges, it’s usually a fill-and-map repair job—consider a pro if you’re unsure.
FAQ section
Can I use a steam mop on wood floors?
Steam can lift finishes and warp wood. Avoid steam mops on most solid hardwoods. If you have engineered wood with a durable finish, check the manufacturer’s guidelines before trying steam. In doubt, skip it.
What’s the best cleaning frequency for wood floors?
– Light cleaning: weekly dry dusting or vacuuming with a wood-friendly setting.
– Wet cleaning: every 1–2 weeks, or as needed when dirt builds up.
– Deep clean: every 2–3 months, depending on traffic and pets.
Are there cleaners I should stay away from?
– Avoid abrasive cleaners, ammonia-heavy products, and generic “all-purpose” sprays that aren’t pH-balanced for wood.
– Avoid vinegar on certain finishes if you’re unsure; test first.
How do I know what finish my floor has?
– Look for a manufacturer label or care guide. If you’re unsure, test on a small, discreet area with a diluted cleaner and see how it reacts. If there’s dulling or streaks, slow down and consult a pro.
How can I quickly fix a spill without staining?
– Blot (don’t wipe) with a soft cloth as soon as you can.
– Use a damp cloth with a tiny amount of pH-balanced cleaner if needed, then dry immediately.
– For stubborn stains, a wood-safe stain remover in the matching shade can help, but test first.
Conclusion
Floor glow, achieved
You don’t need a professional crew to make wood floors gleam. With these seven hacks, you get quick wins, smarter routines, and less drama when a spill happens. Dry mops, smart rinsing, mindful products, and smart mats — that’s the lineup. IMO, consistency beats heroic cleans every time, so pick a routine you’ll actually stick to. FYI, your floors are basically begging for a little respect—and they’ll repay you with a shine that makes your whole home feel brighter.
Leave a Reply